
This page has been translated by AI and may contain errors. The Japanese version is the official document.
⚠️ Note: This post is a tentative guide (stub) for staff.
The contents may contain unconfirmed descriptions that are subject to change or correction. Although general users may view this post, this post is not an official announcement or formal position of the division. For formal guidance, please check official announcements issued separately by our division.
This page summarizes useful data, network, and web-related features available in the Division of Analytical Electron Microscopy (file storage, large file transfer, remote monitor camera and instrument screen viewing, etc.) and how to use them. It is intended to help users understand how to use functions opened to them, and does not cover actual experiment procedures or internal division operational rules.
⚠️ Separate from AEM Reservation Site and CINTSmypage Accounts: The Single Sign-On (SSO) account described on this page is not linked with accounts for the reservation site or CINTSmypage. Usernames and passwords are managed separately, so please be careful not to confuse them.
Overview
- Your account information (username, password, etc.) is registered in a single centralized account management system.
- With this single account, you can log in to all of the following services using the same username and password (SSO mechanism):
- Instrument NAS / Public NAS (file storage, FTP upload)
- Nextcloud (retrieving data from Public NAS)
- FileSender (large file transfer)
- Monitor Camera & Instrument Screen Stream viewing (authorized users only)
- Permissions (accessible cameras, streams, etc.) take effect immediately upon modification.
First-Time Setup Guide
Prerequisites
- Valid email address
- Smartphone is not strictly required (email-only authentication can be used as described below)
Procedure
- Submit application for usage to the administrator (application method currently under development).
- The administrator registers your account. This enables access to:
- Instrument PC → FTP upload to Instrument NAS
- Login to Public NAS
- Login to Instrument NAS (Web browser management GUI)
- Initial Login (User setup tasks):
- Access the SSO account screen (https://aem-www.imr.tohoku.ac.jp/keycloak/realms/aem/account/)
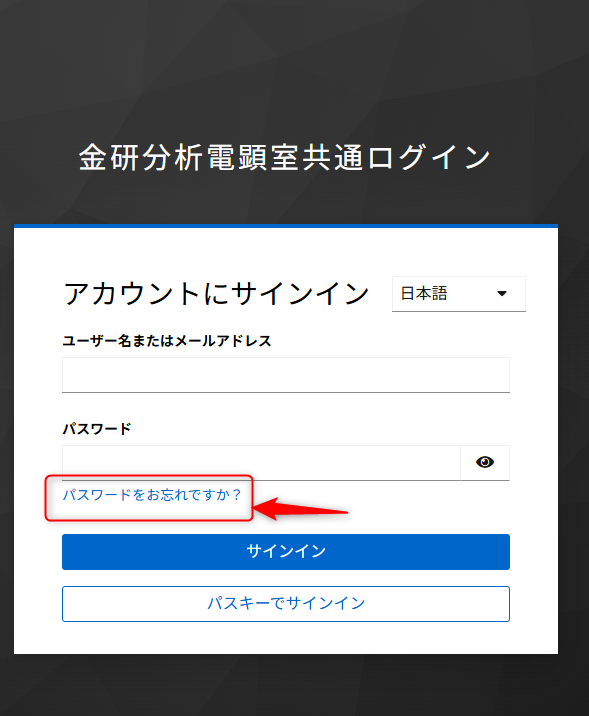
- Since an initial password is not set, click “Forgot Password?” to begin password setup
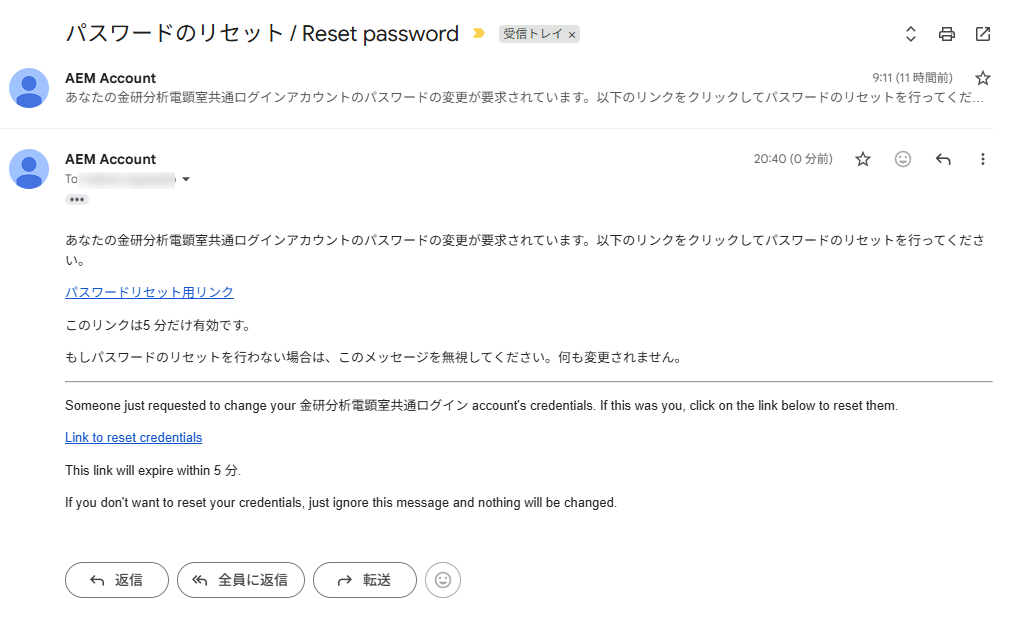
- Click the link in the received email for identity verification
- Set your new password
- Log in again on the above screen
- The 2-Factor Authentication (2FA) setup screen will be displayed; choose one of the following:
- Authenticator App (enter TOTP code displayed on smartphone app) — Recommended
- Passkey (login using fingerprint, face recognition, or security key) — Recommended; after setup, password entry will no longer be required
- Email Authentication — For users without smartphones; a verification code is sent via email upon each login
- Dedicated Folder Creation (Automatic): The first time you log in to the Instrument NAS and Public NAS respectively, a dedicated folder for each user is created automatically. Individual logins are required for each NAS.
- Data Transfer Setup from Instrument NAS to Public NAS (Admin Task): Once dedicated folders are created on both NAS units, the administrator configures transfer settings. Currently handled manually (automation in preparation).
If You Forgot Your Password (Reset Procedure)
- Click “Forgot Password?” on the login screen.
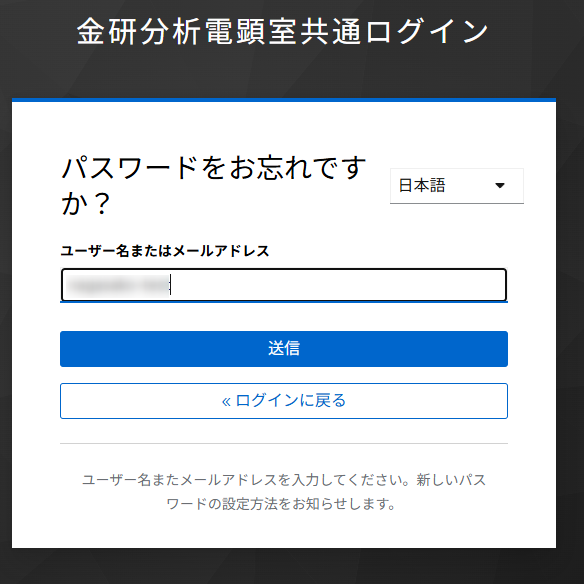
- Enter your username or email address and click “Submit”.
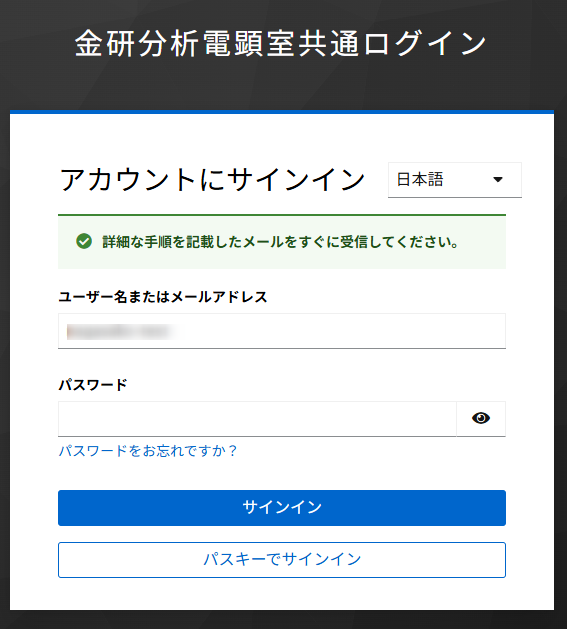
- The message “Should receive an email with further instructions shortly” will be displayed.
- Click the link in the received email (Subject: “Reset password / パスワードのリセット”). The link expiration time is very short (5 minutes). Please operate immediately upon receiving the email (if expired, simply restart from the beginning).
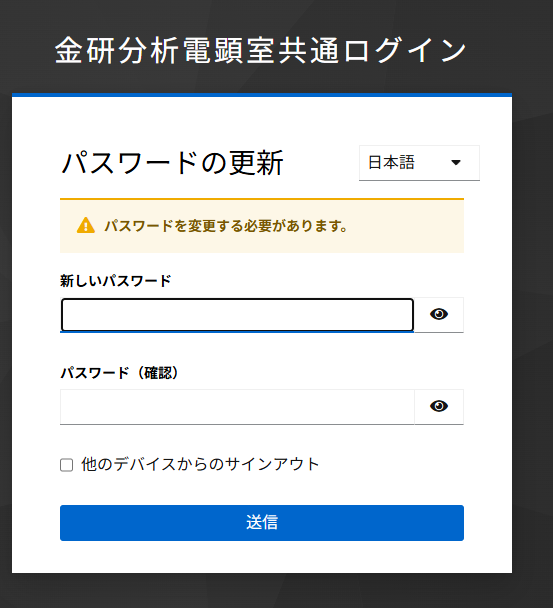
- Enter your new password on the “Update Password” screen.
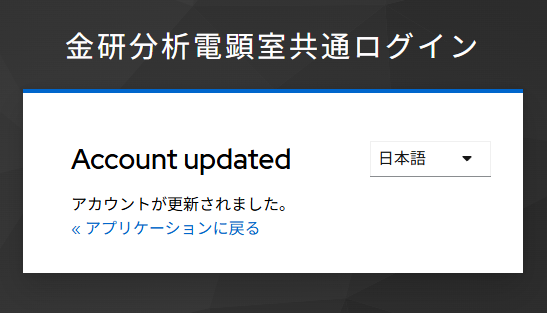
- Upon completion, the “Account updated / アカウントが更新されました” screen will be displayed.
If you have already configured 2FA, only the password will be reset (2FA re-configuration is not required).
Changing Passwords & 2FA Settings
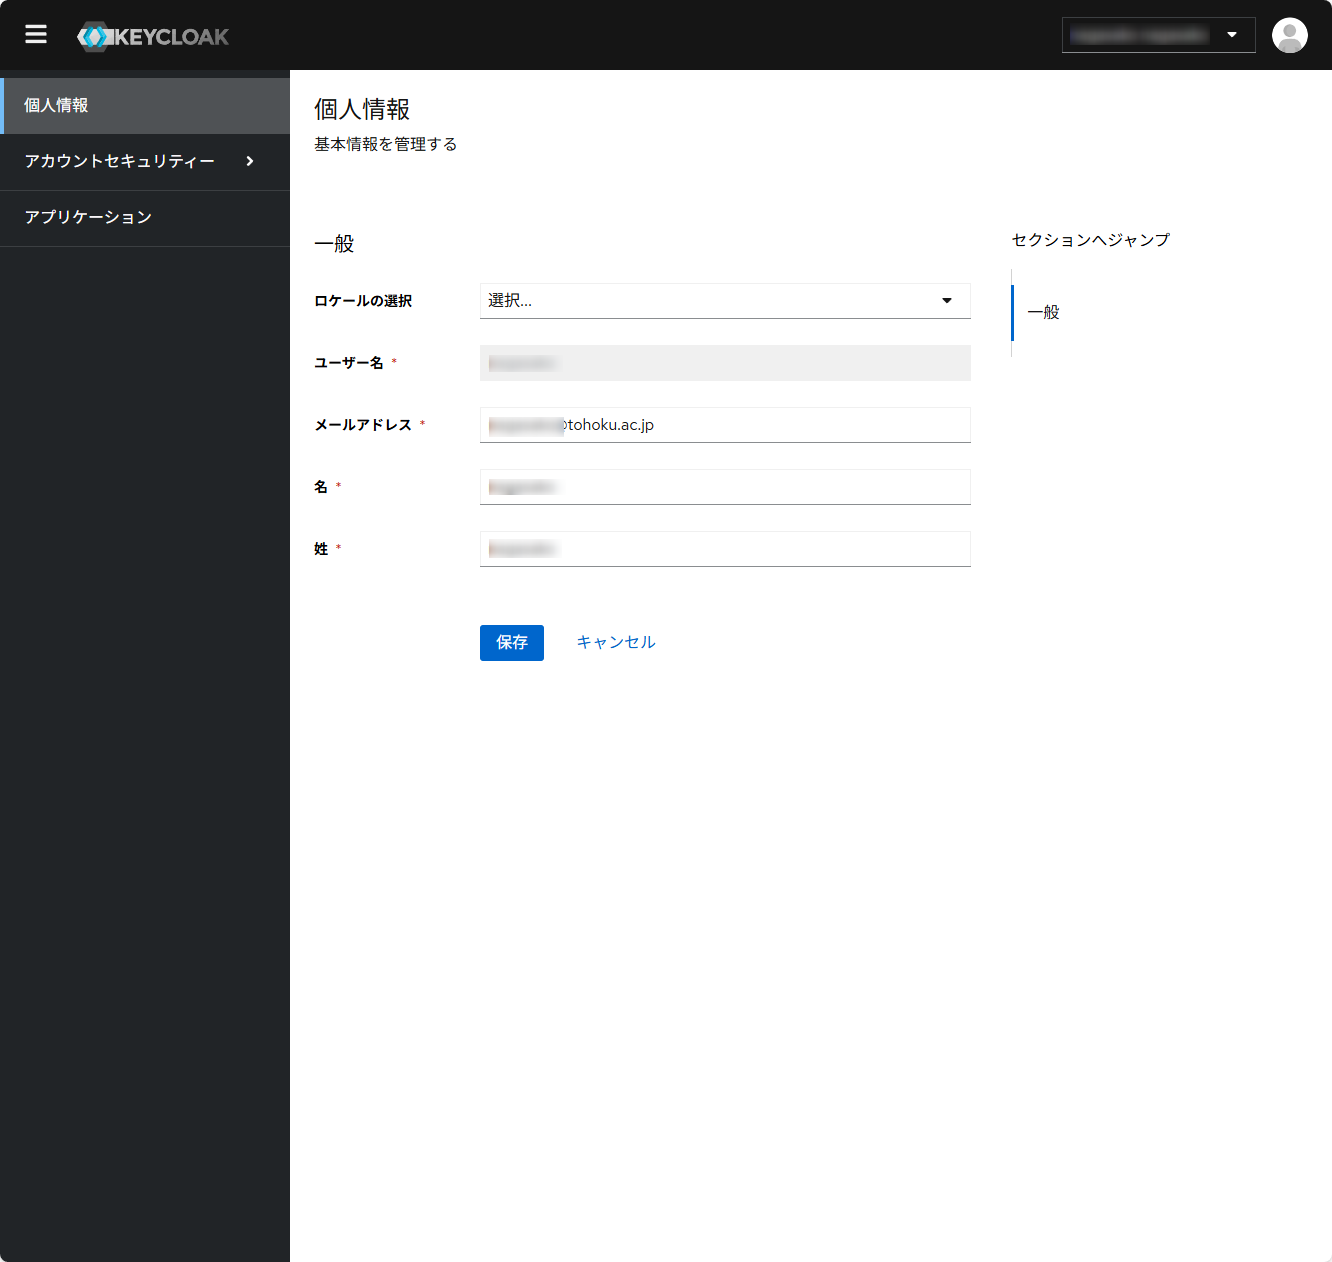
After initial setup, you can add or change password and 2FA methods at any time from your account settings screen.
Access Method
- Log in to the SSO Account Screen
- Open “Account Security” → “Signing In” from the left menu
Changing Password: Change via “Update” under “Basic Authentication” → “Password”.
Adding/Changing 2FA: Under “Two-Factor Authentication”, you can add Email or Authenticator App (OTP). You can also remove already configured methods (removal requires re-configuration if needed).
Note When Adding Passkeys
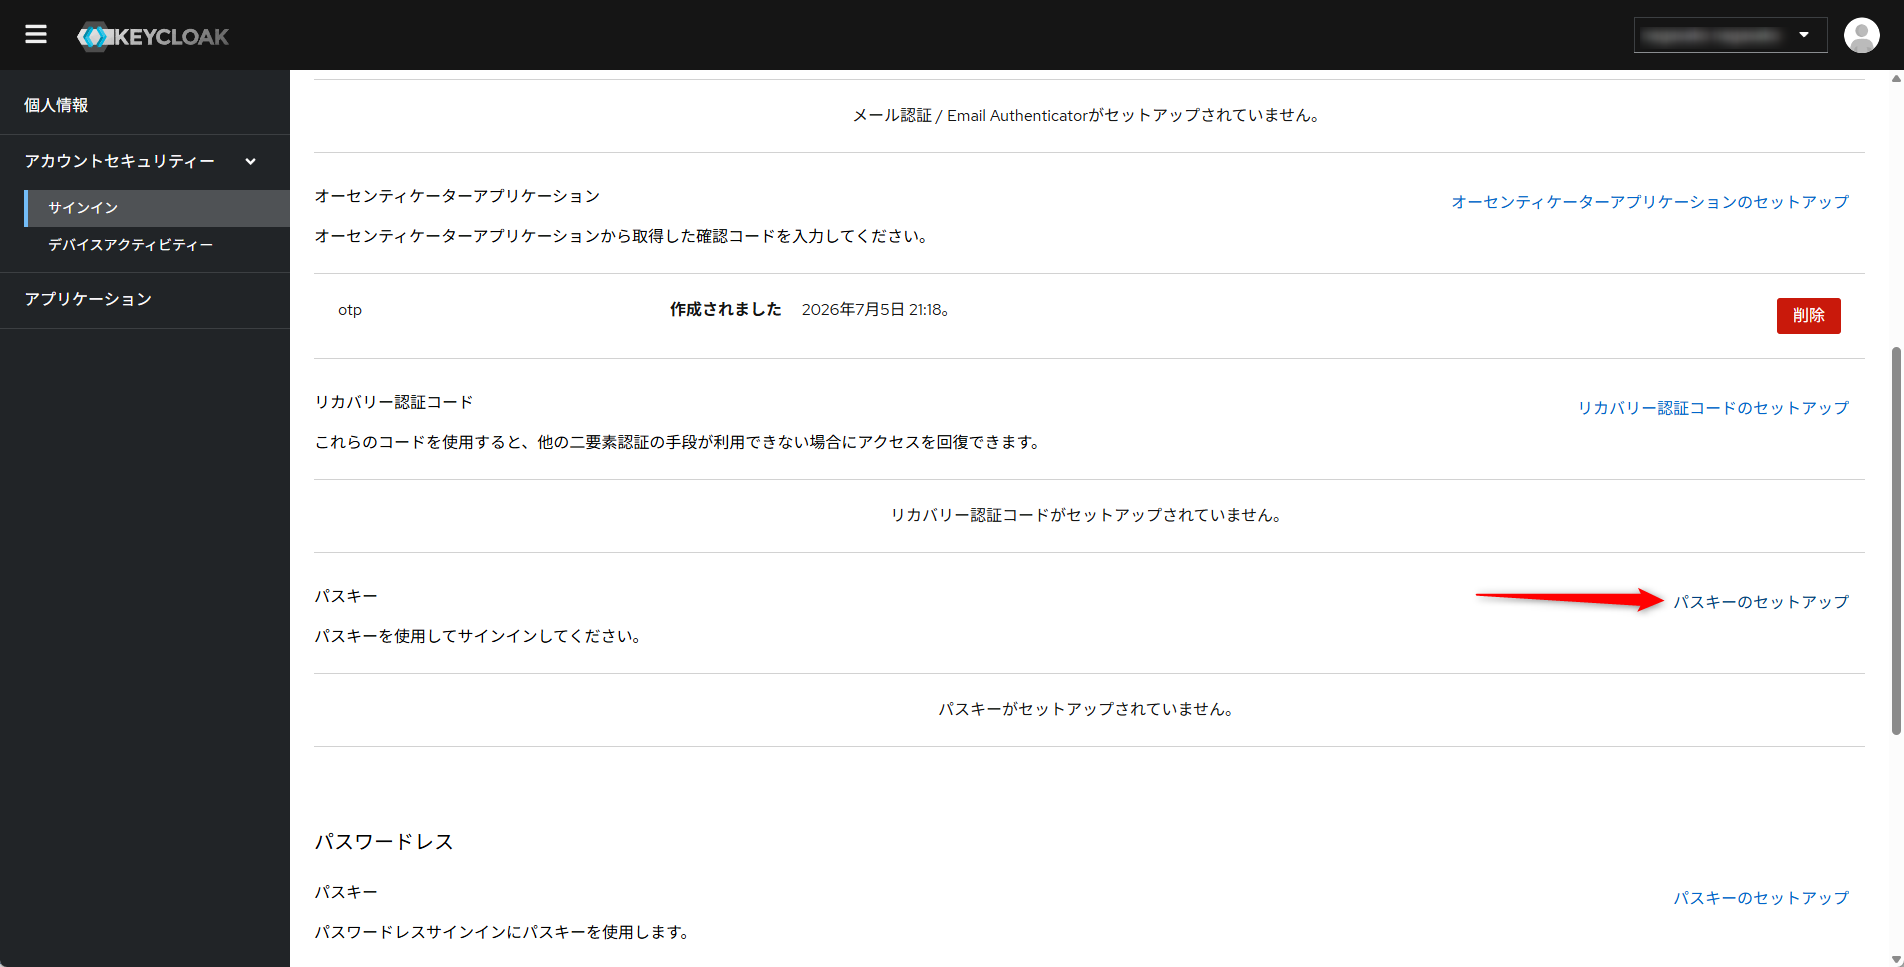
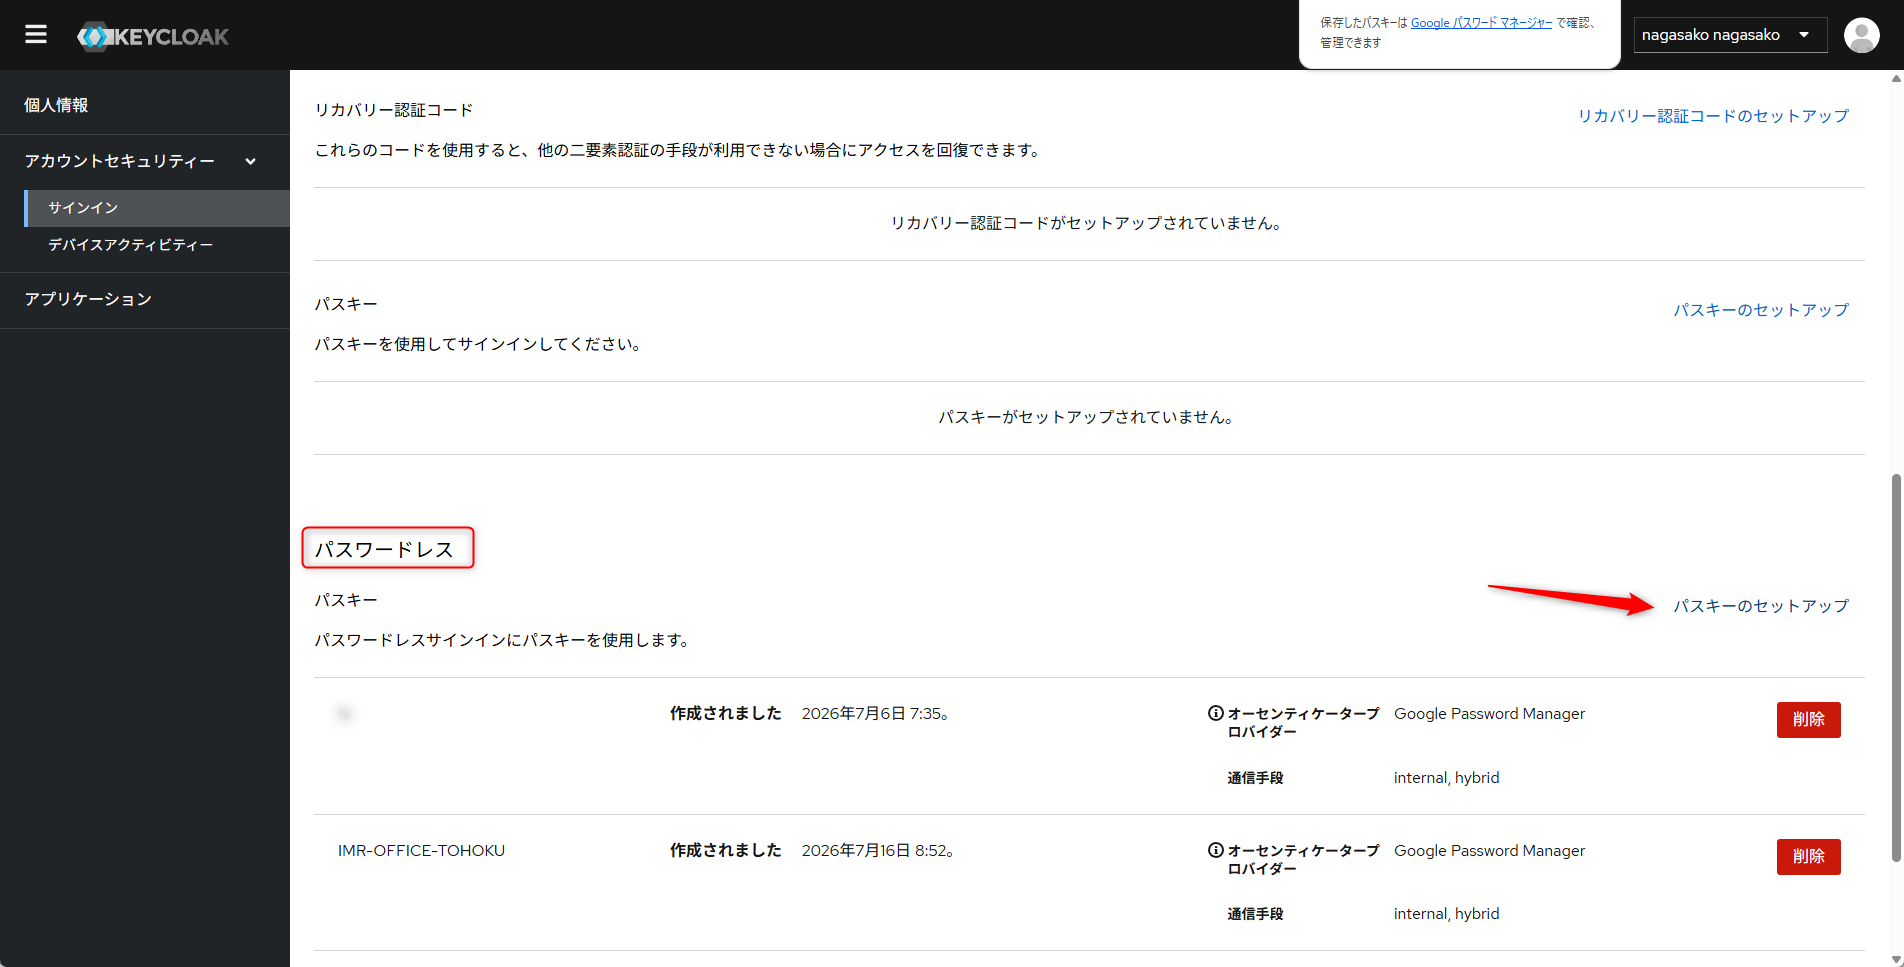
- Two similar links titled “Set up Passkey” appear under “Two-Factor Authentication” and “Passwordless” sections.
- Be sure to register via “Set up Passkey” under the “Passwordless” section (see image below). Registering here removes password prompt in future logins and allows passkey-only login.
- The passkey option under “Two-Factor Authentication” (upper section) is used as a 2nd factor in addition to a password, so please avoid selecting it.
Setup Flow (Passkey Addition Example)
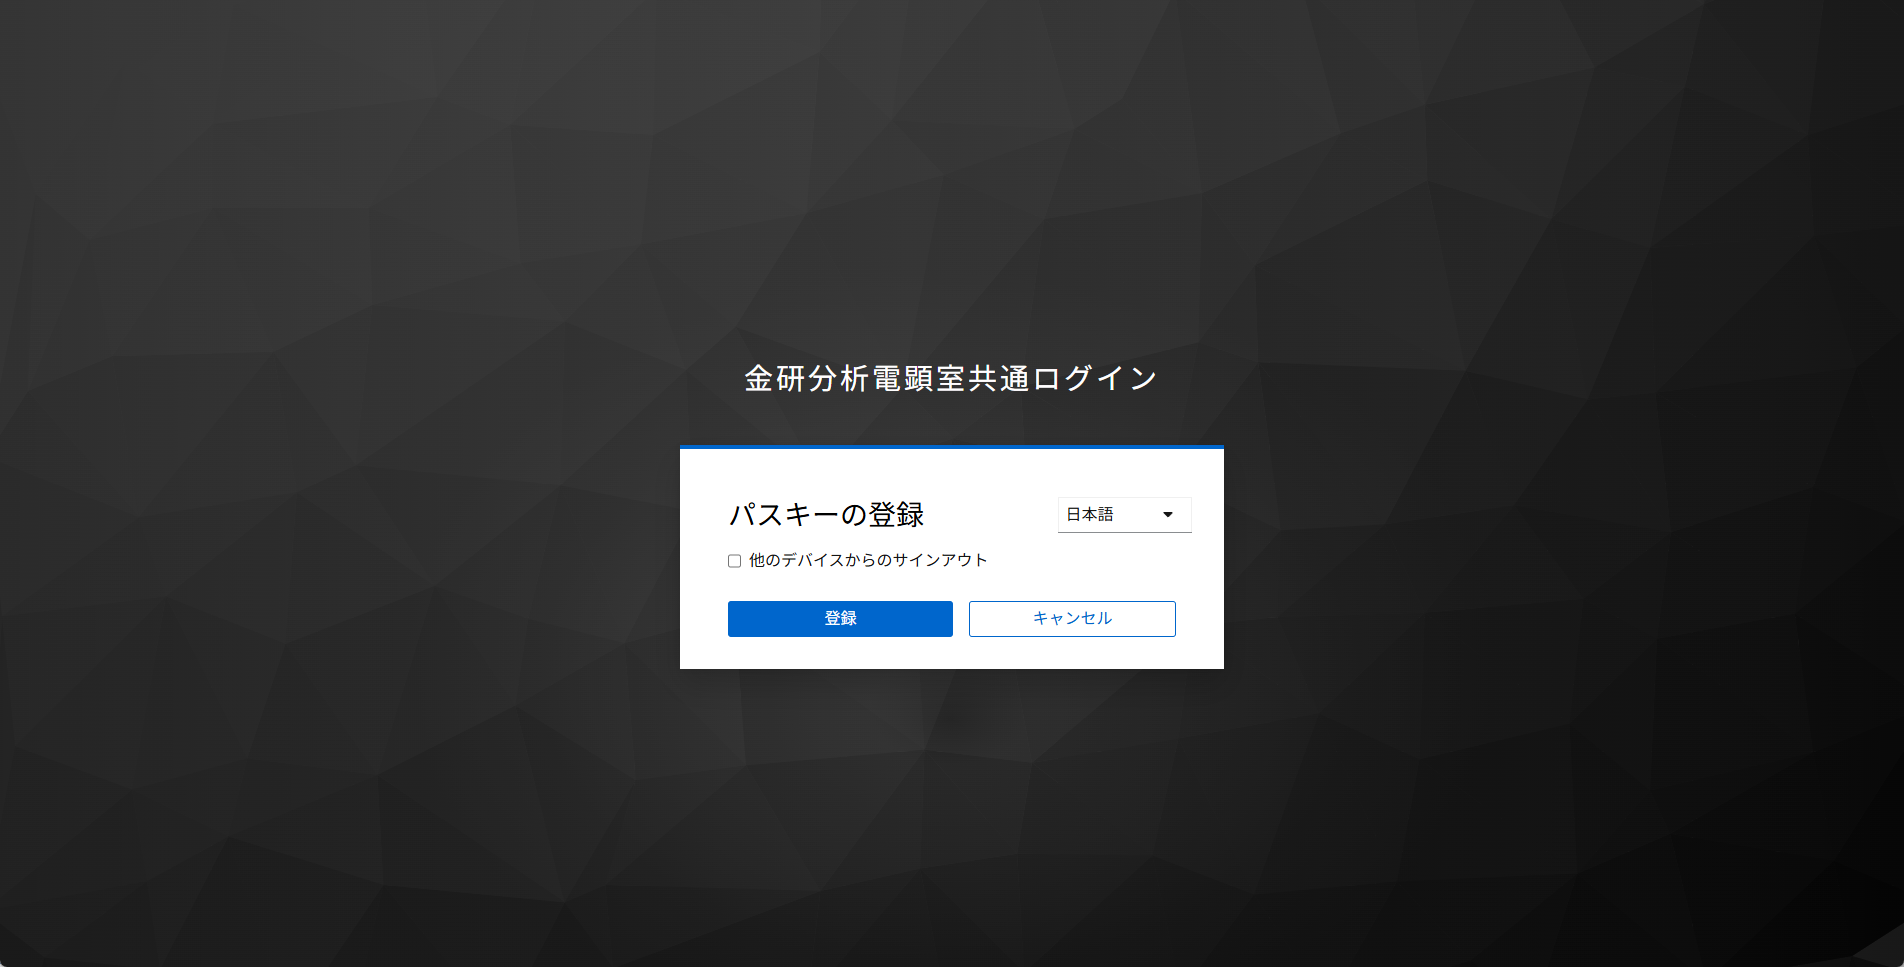
- Click “Set up Passkey” under the “Passwordless” section.
- Click “Register” on the displayed screen.
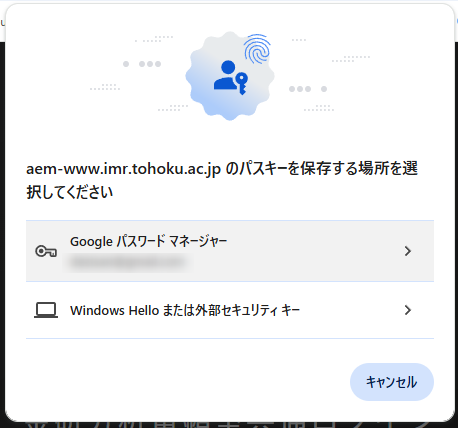
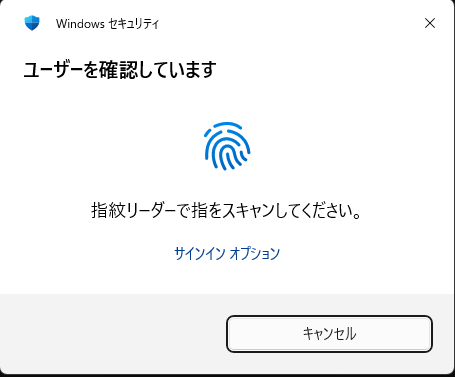
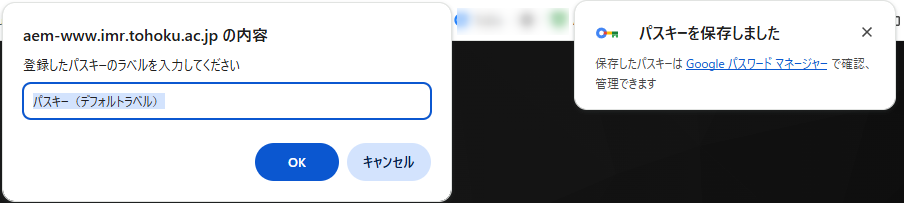
- Follow your browser/OS prompts to select a storage location (Google Password Manager, Windows Hello, external security key, etc.).
- Verify your identity using fingerprint, face recognition, or PIN.
- Enter a descriptive label (e.g., PC name) to complete setup.
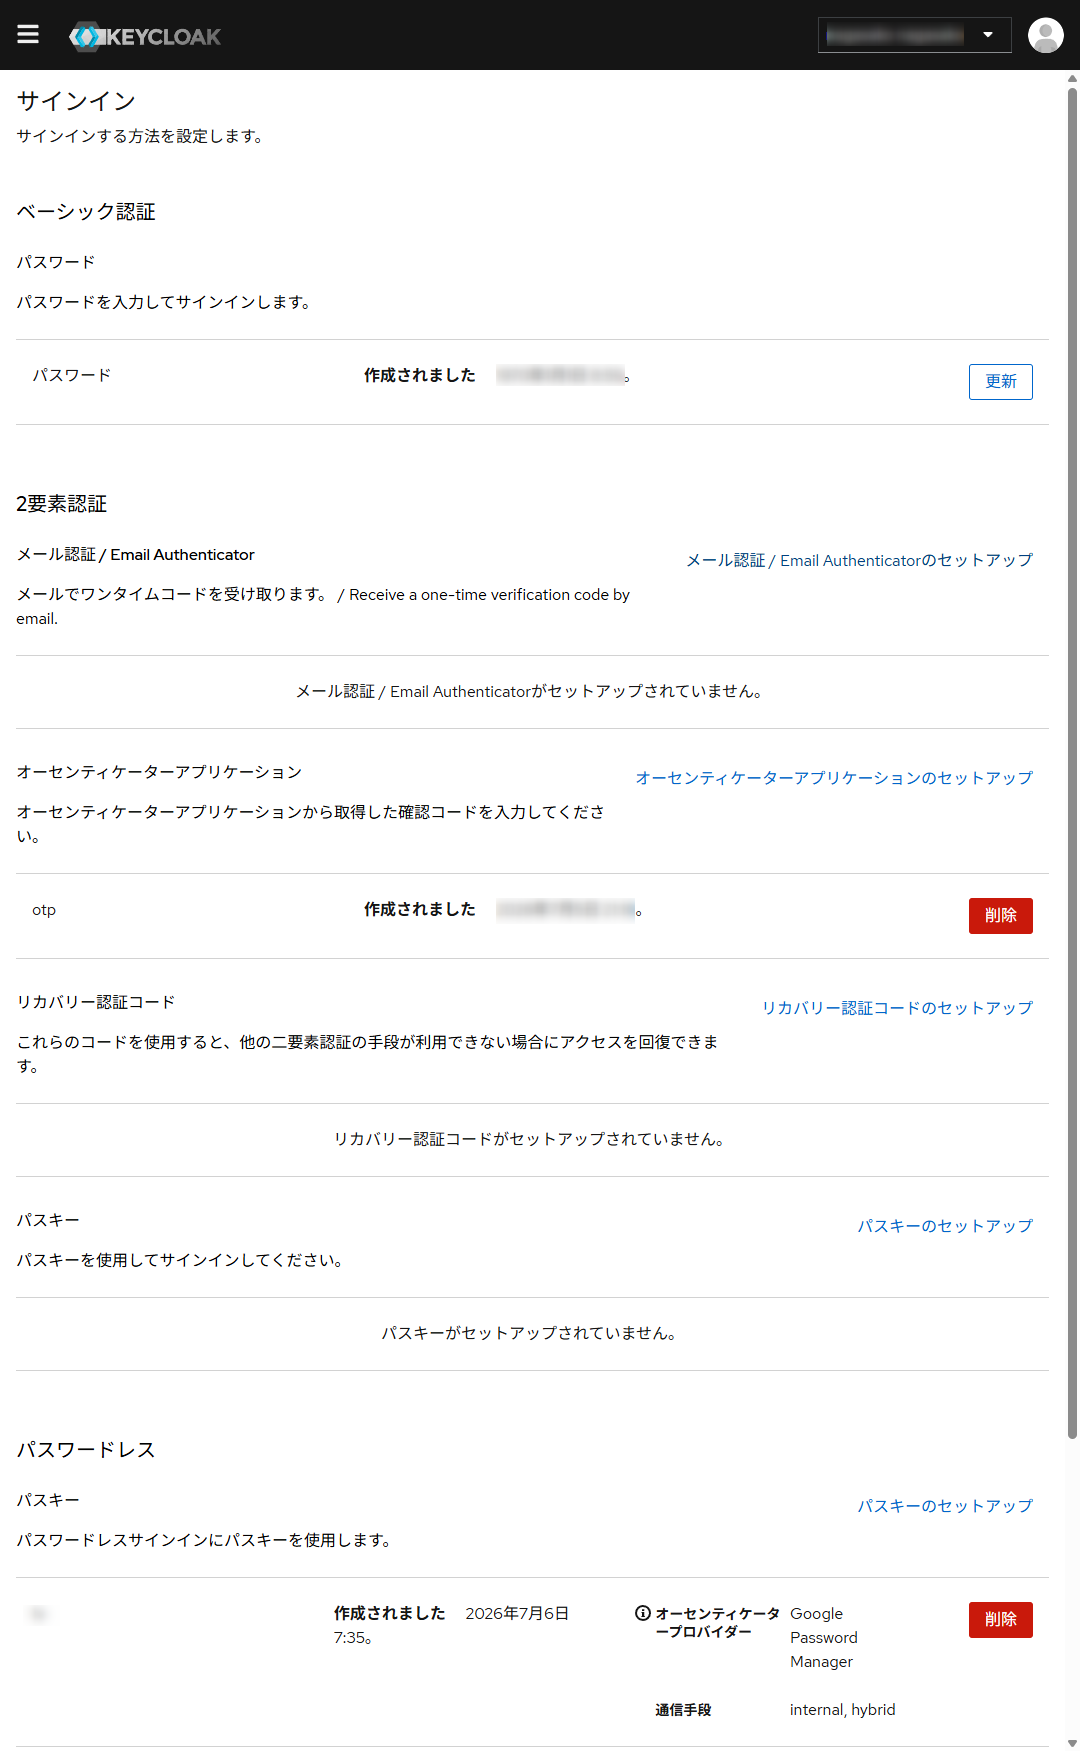
⚠️ Passkey under “Two-Factor Authentication” (Do not choose)
✅ Passkey under “Passwordless” (Use this one)
Frequently Asked Questions
- Forgot password → Please refer to “If You Forgot Your Password (Reset Procedure)” above.
- Changed 2FA device / Lost smartphone → Users cannot reset 2FA independently; please contact the administrator.
- Confirmation or reset email not received → Check your spam folder. If still not received, contact the administrator.
- Login screen remains in English → Usually Japanese is displayed automatically. If displayed in English, select “Japanese” from the language selector at the top right.
- What is a Passkey? → A login method using fingerprint, face recognition, or security keys instead of smartphone authenticator apps. Once set up, password entry is no longer needed.
- Want to change password or 2FA method later → Please refer to “Changing Passwords & 2FA Settings” above.
Available Features
Instrument NAS (Access from Internal LAN)
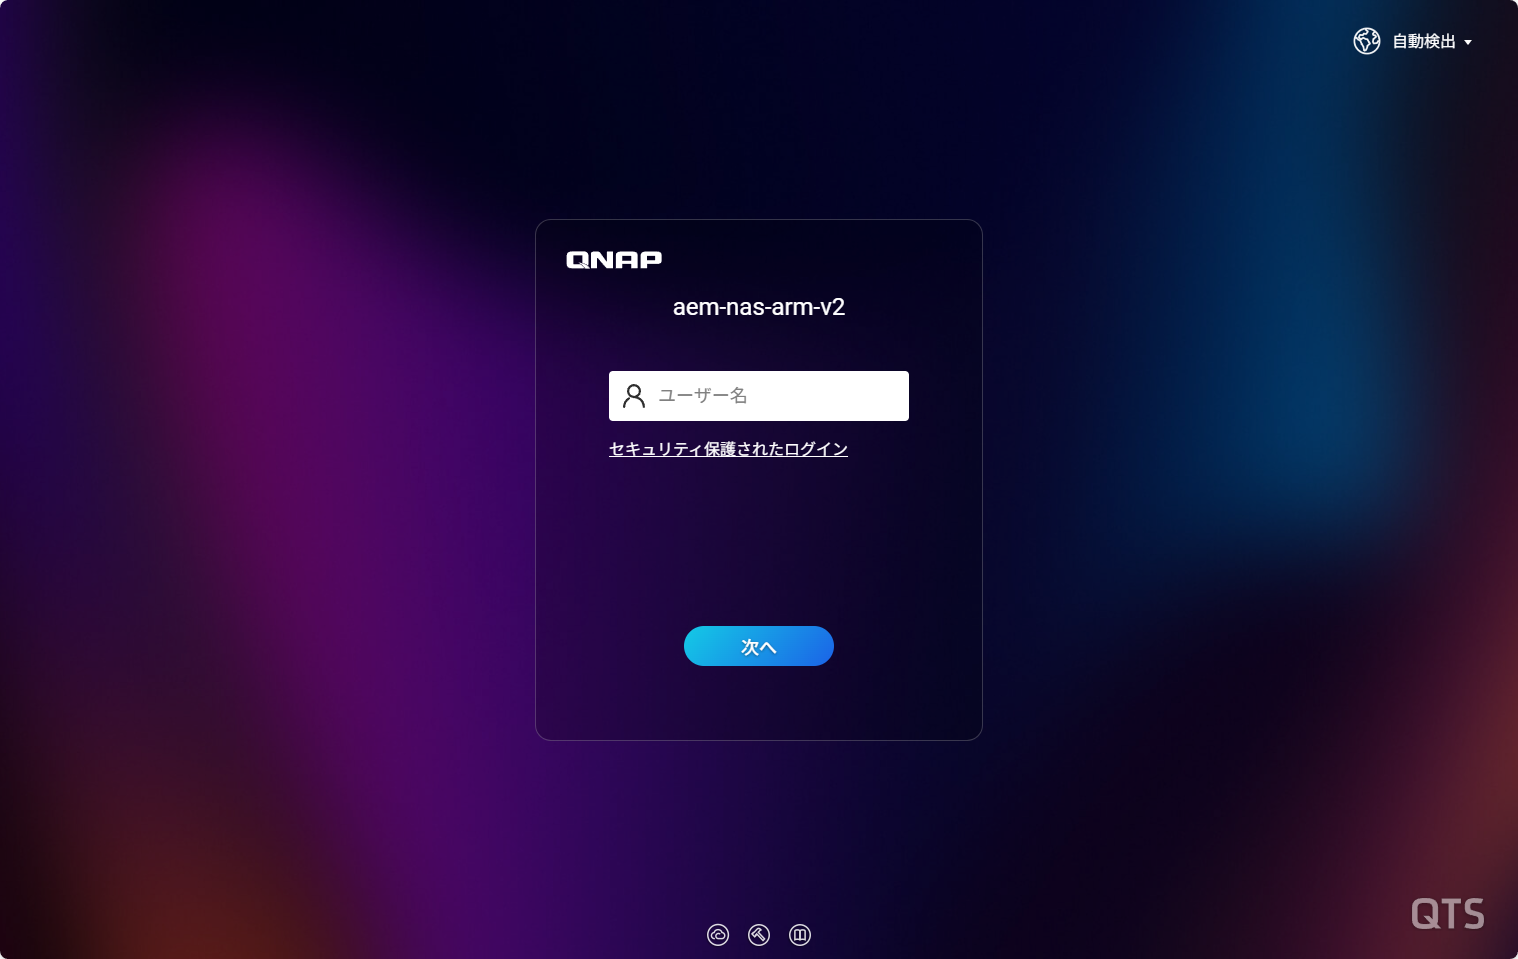
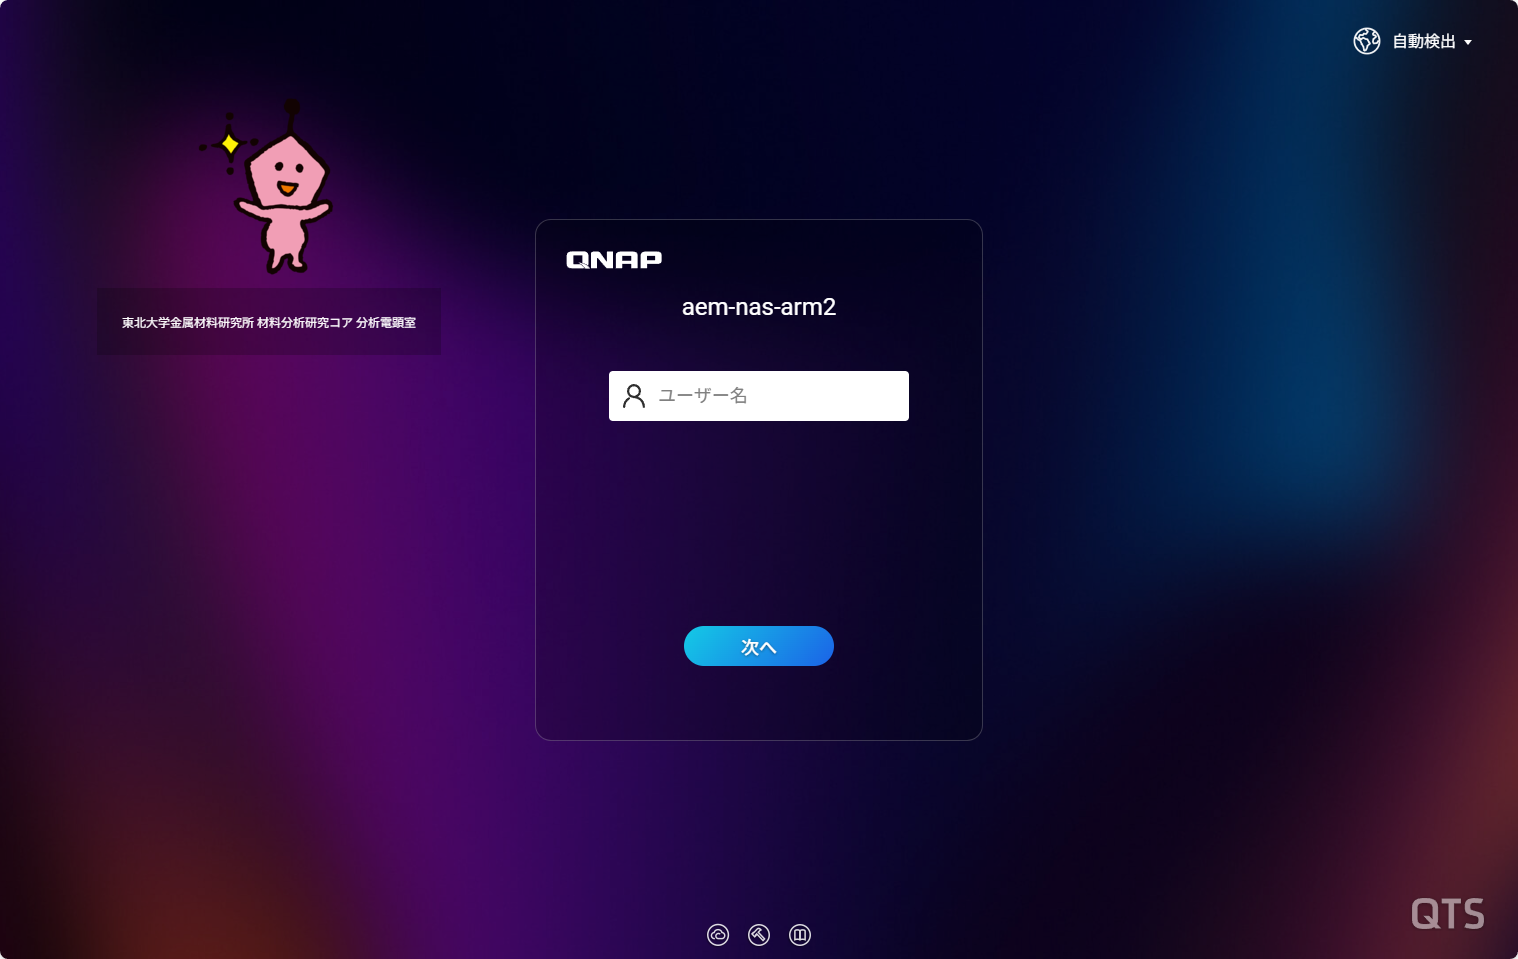
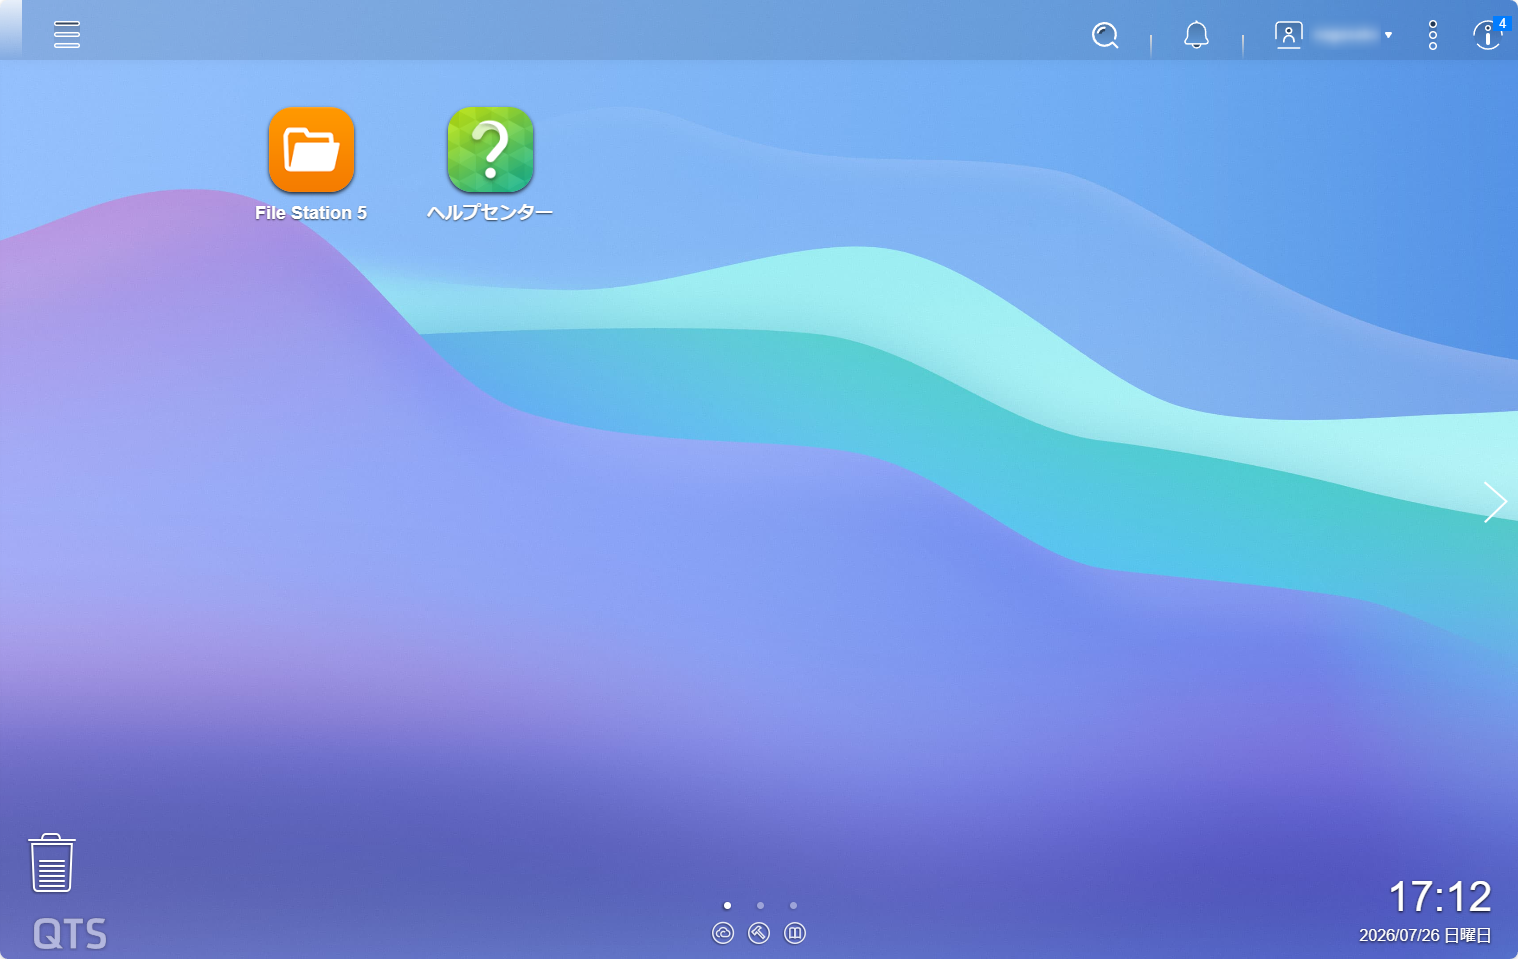
Method for accessing NAS installed for each experimental equipment from the internal LAN. Accessible only via internal LAN (or equivalent routes like VPN). The login interface is not the SSO login screen, but the NAS device’s own login GUI. Authentication credentials (username/password) use the same account as SSO. Separate logins are required for each NAS. Because access is limited to internal networks, 2FA is optional (if enabled, a separate code input is required; this is separate from SSO 2FA settings).
Please contact the administrator for hostnames and URLs of specific instrument NAS units.
Public NAS (Access from On-Campus)
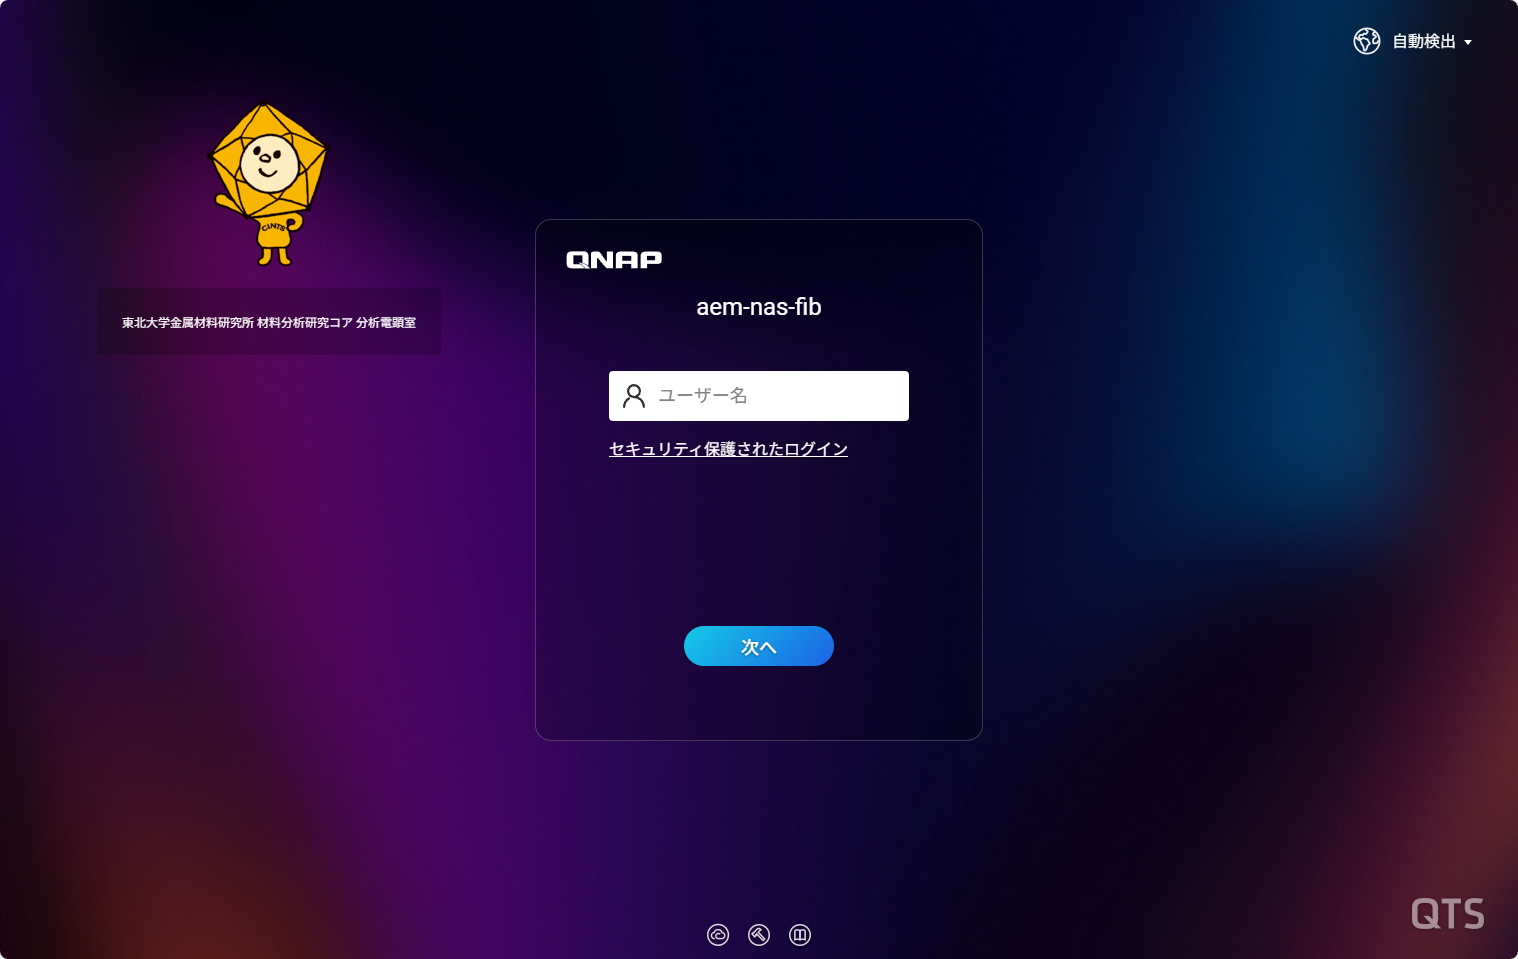
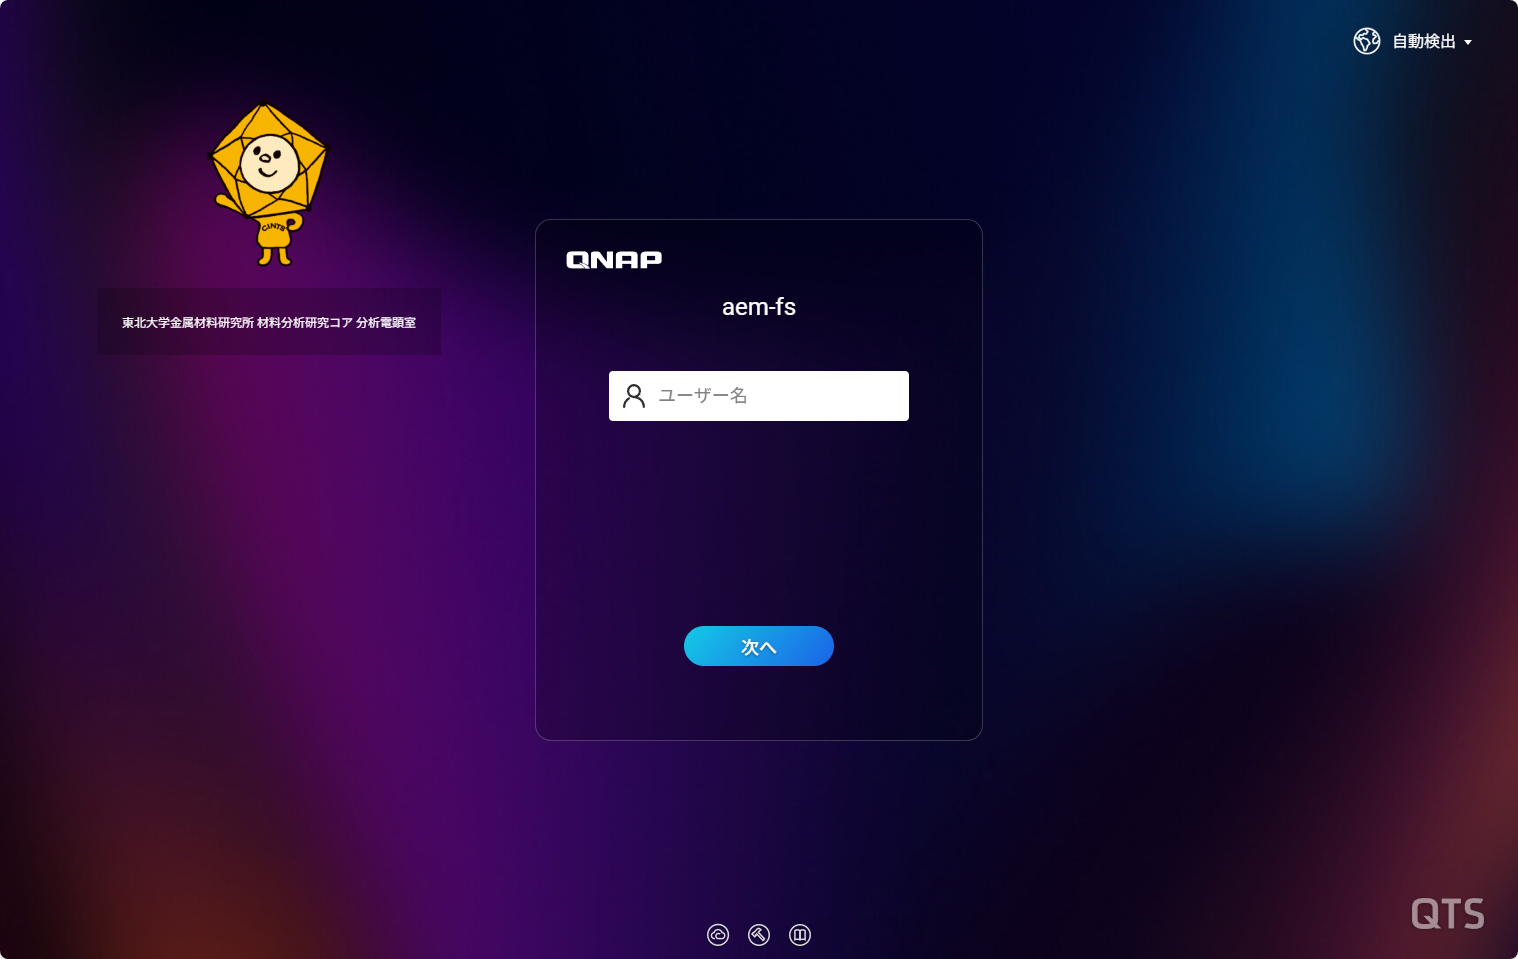
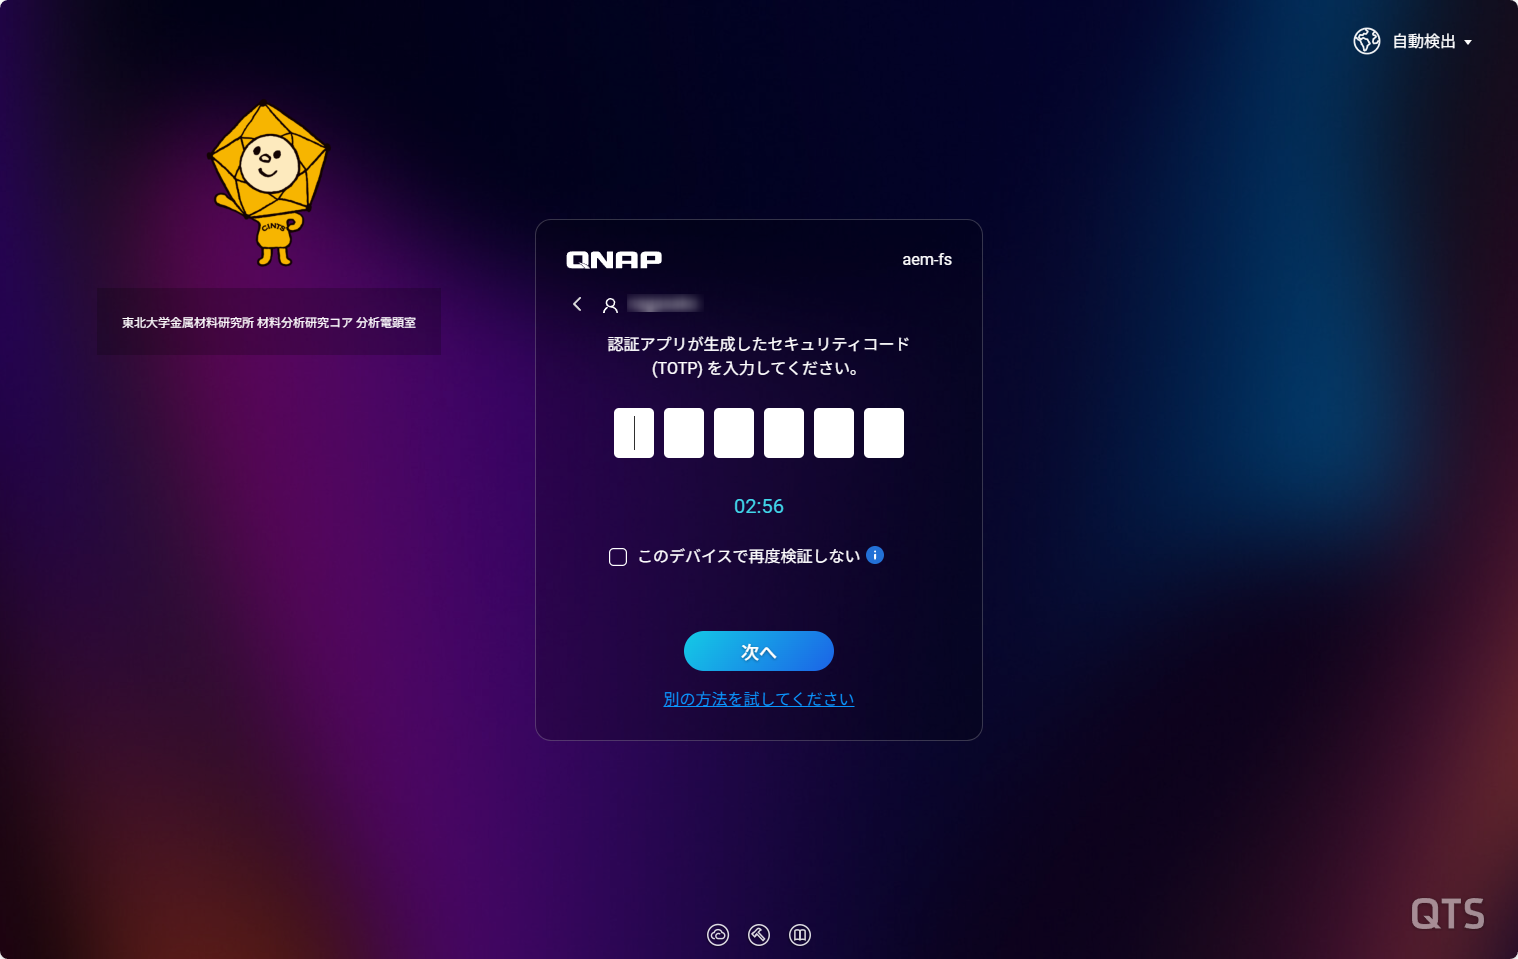
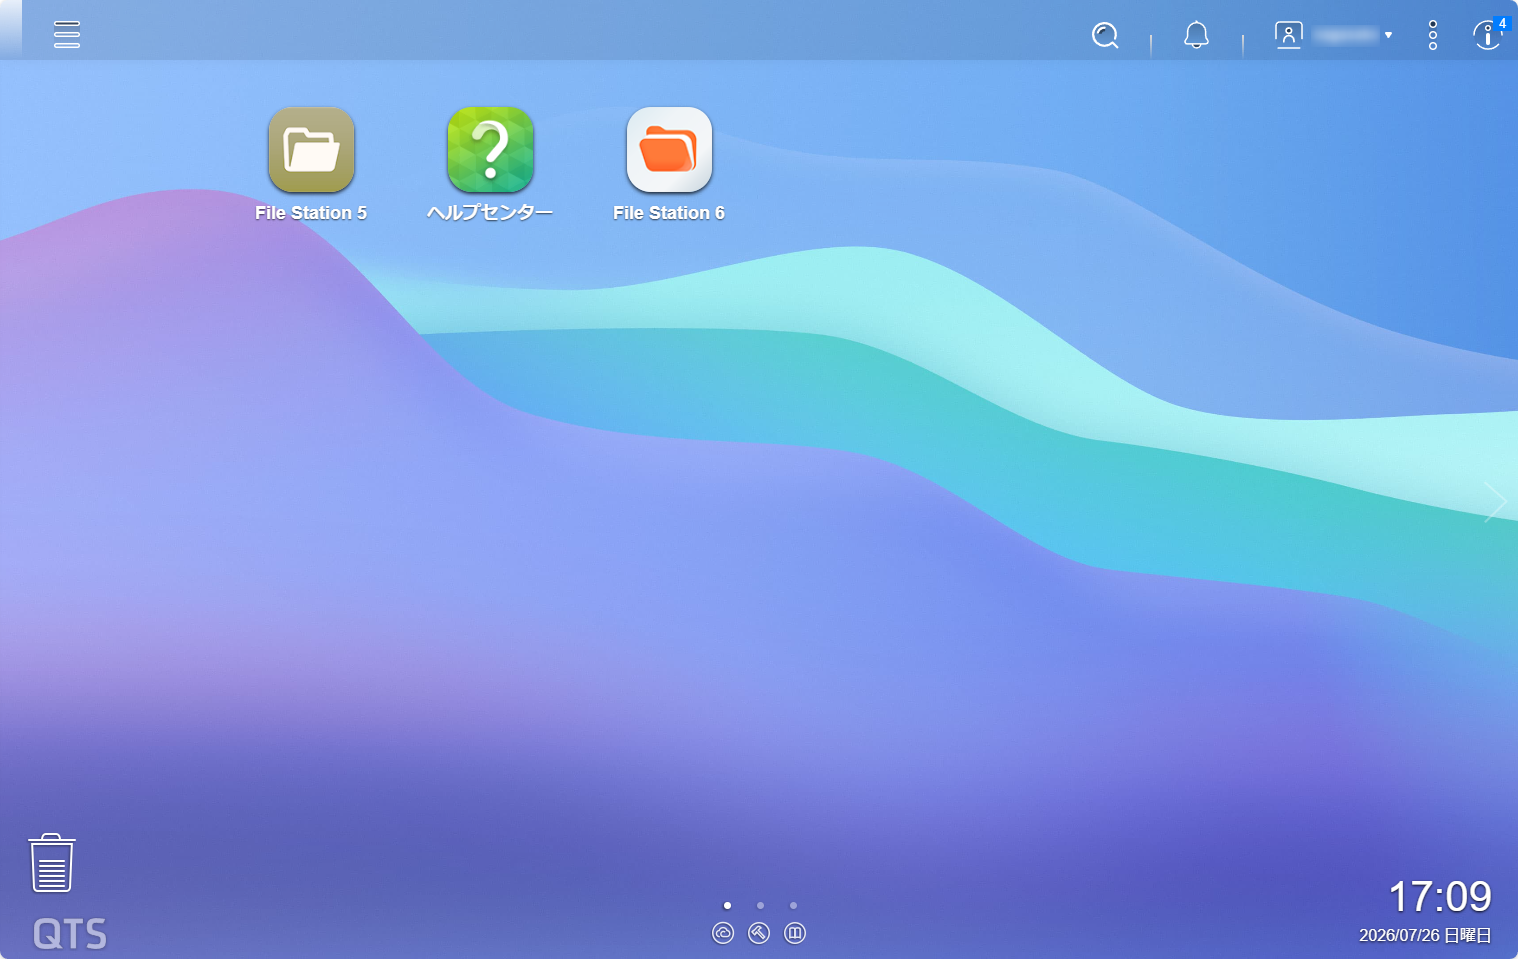
Method for accessing the institute’s shared file server from on-campus. Data on Instrument NAS is synchronized to Public NAS, allowing data retrieval here. Accessible from on-campus networks. The login screen is the NAS device’s own GUI (not the SSO page). Credentials match the SSO account (username/password). 2FA is mandatory (choose TOTP authenticator code or email verification). Write access is allowed, but contents are constantly overwritten by Instrument NAS data. To modify files, edit them on the instrument PC side. After login, view and download files via File Station.
Nextcloud
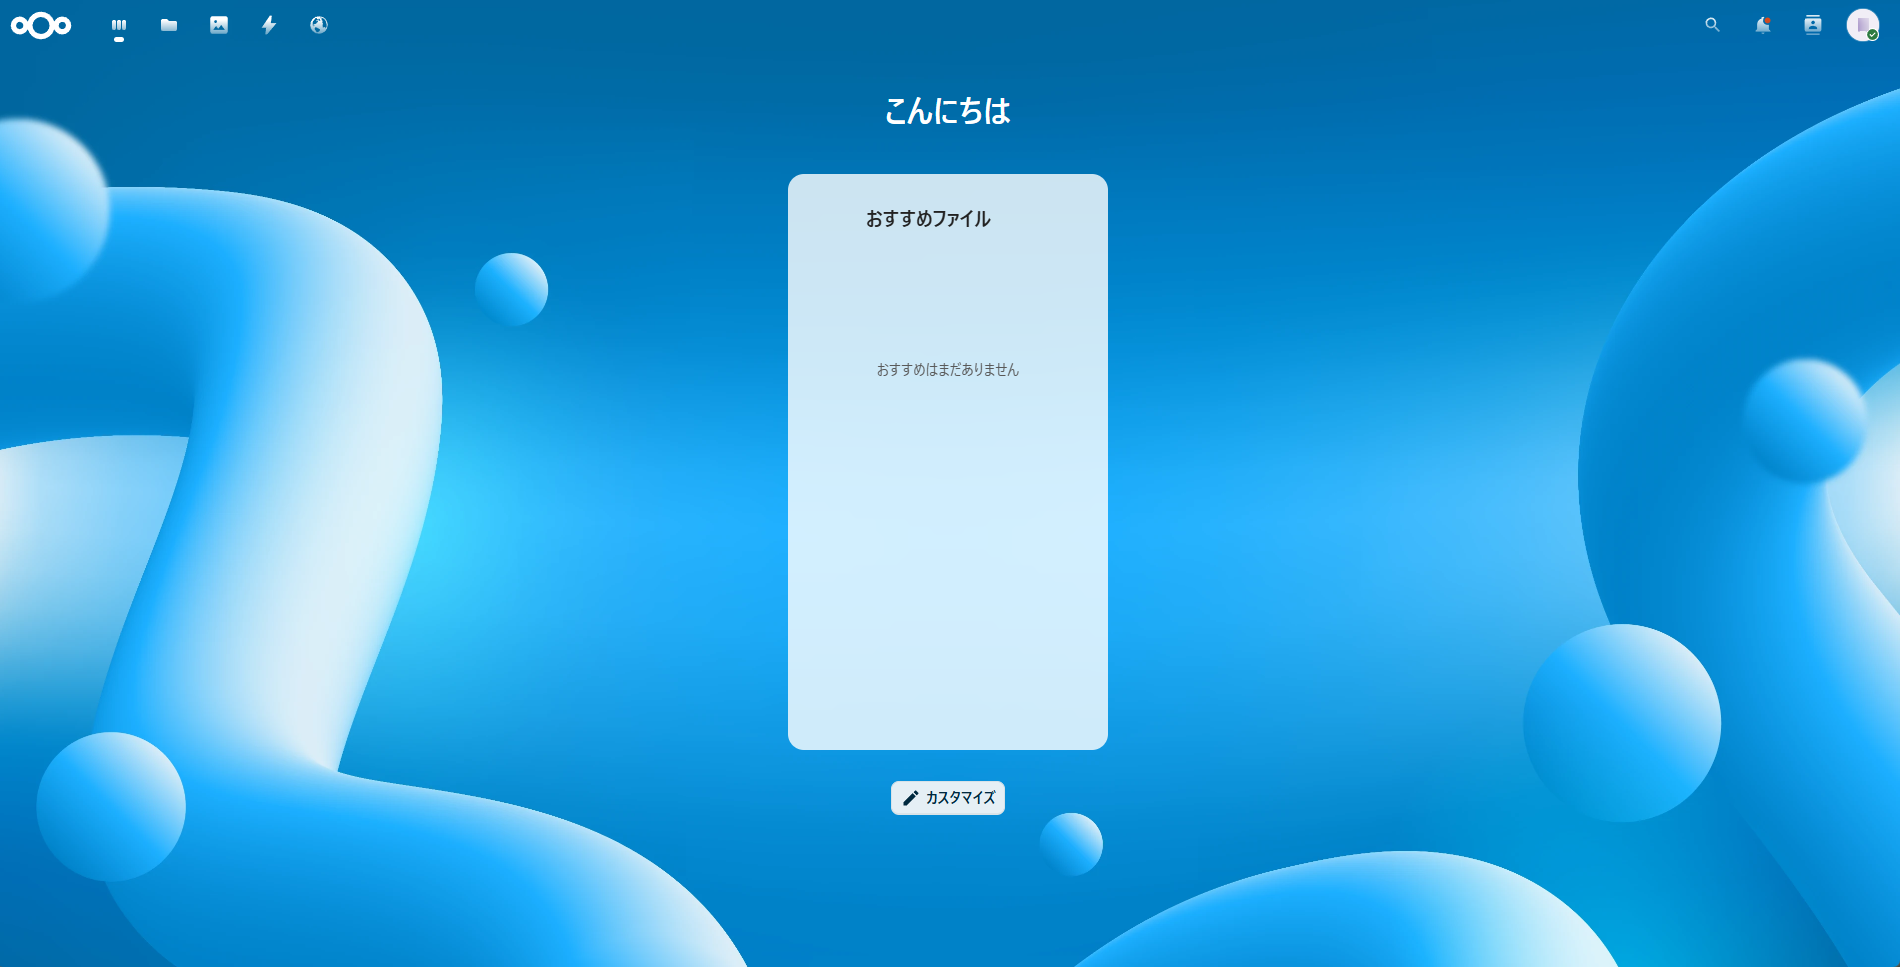
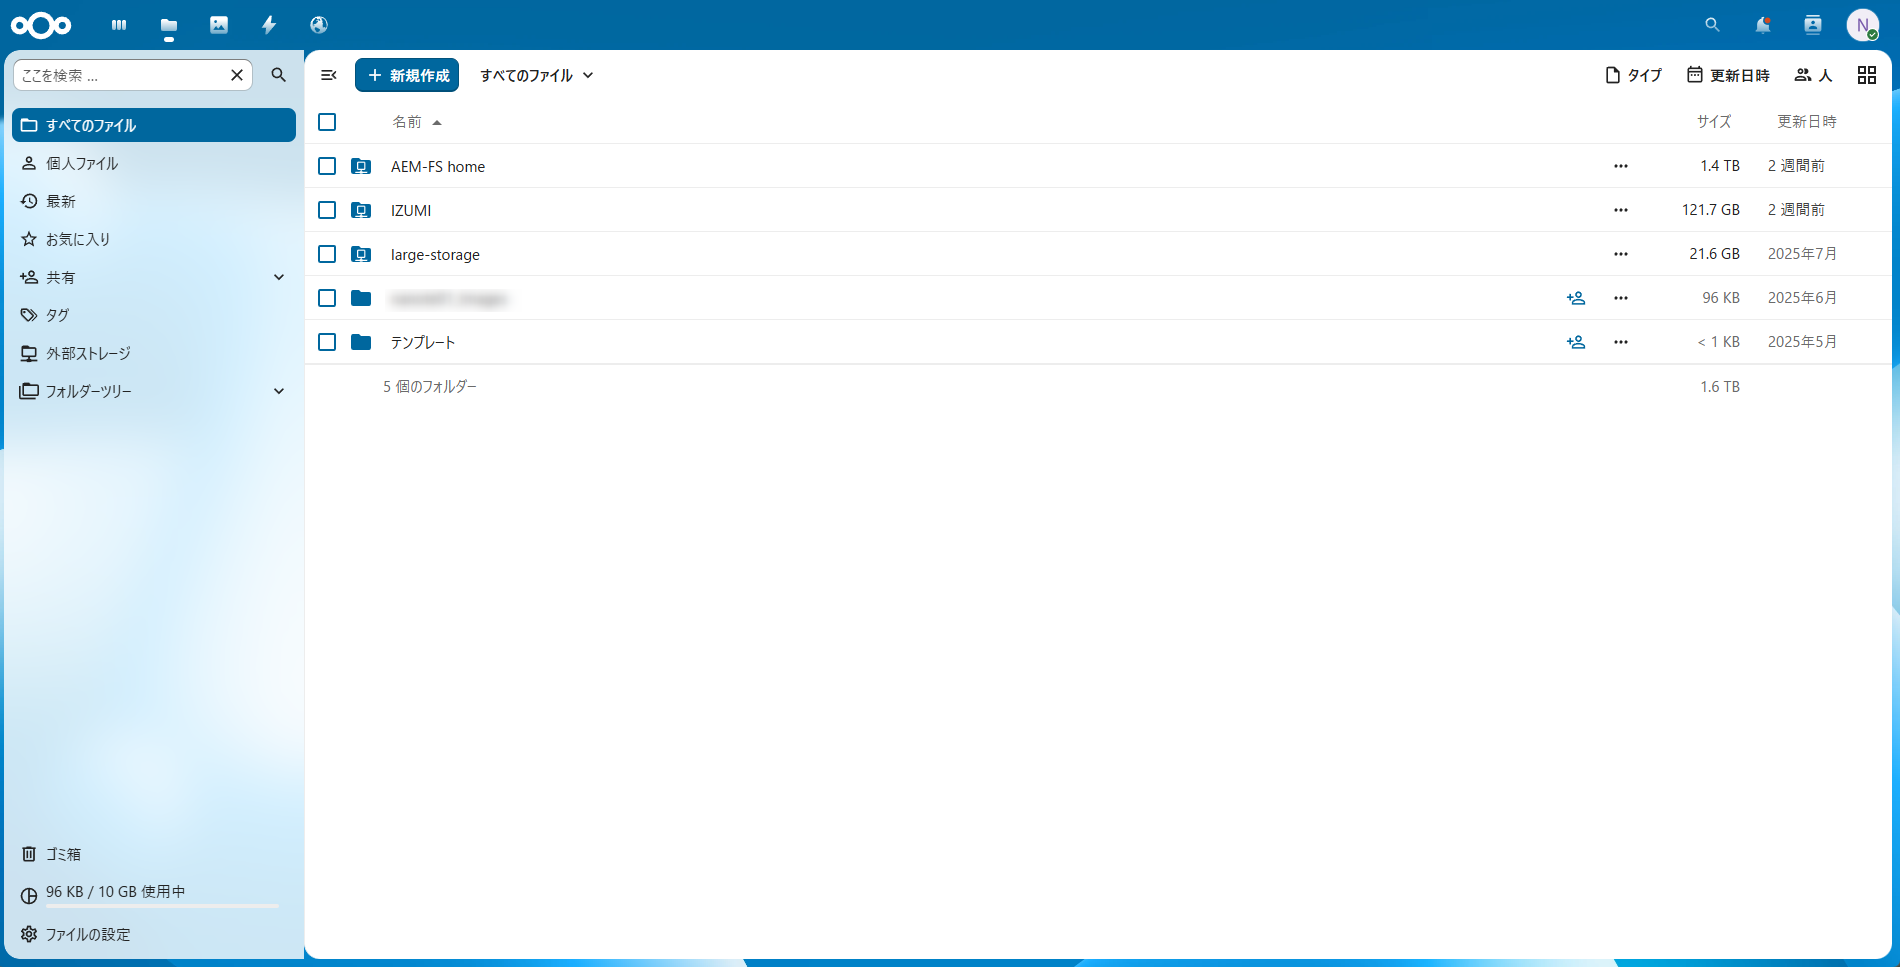
Service allowing direct browser access to Public NAS data. Log in with your SSO account. Upon login, the dashboard is displayed, and file lists can be accessed via “Files”. Public NAS storage is mounted as external storage (folder names depend on share settings).
FileSender
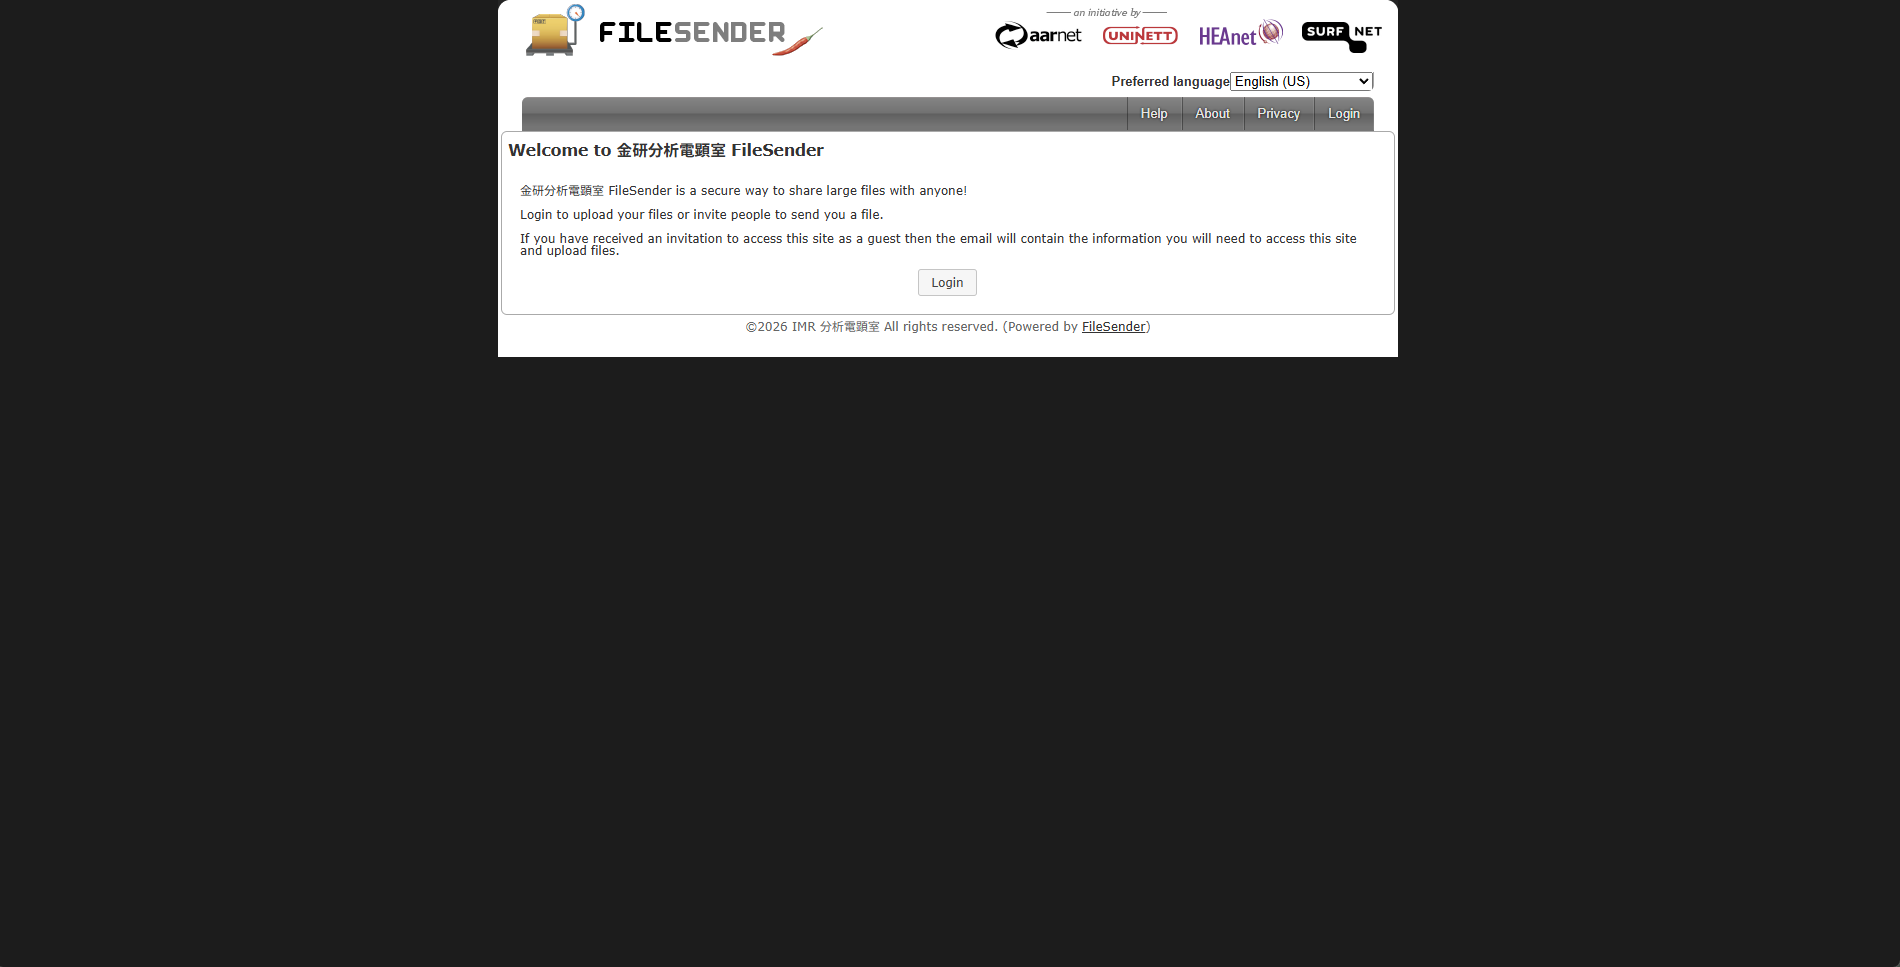
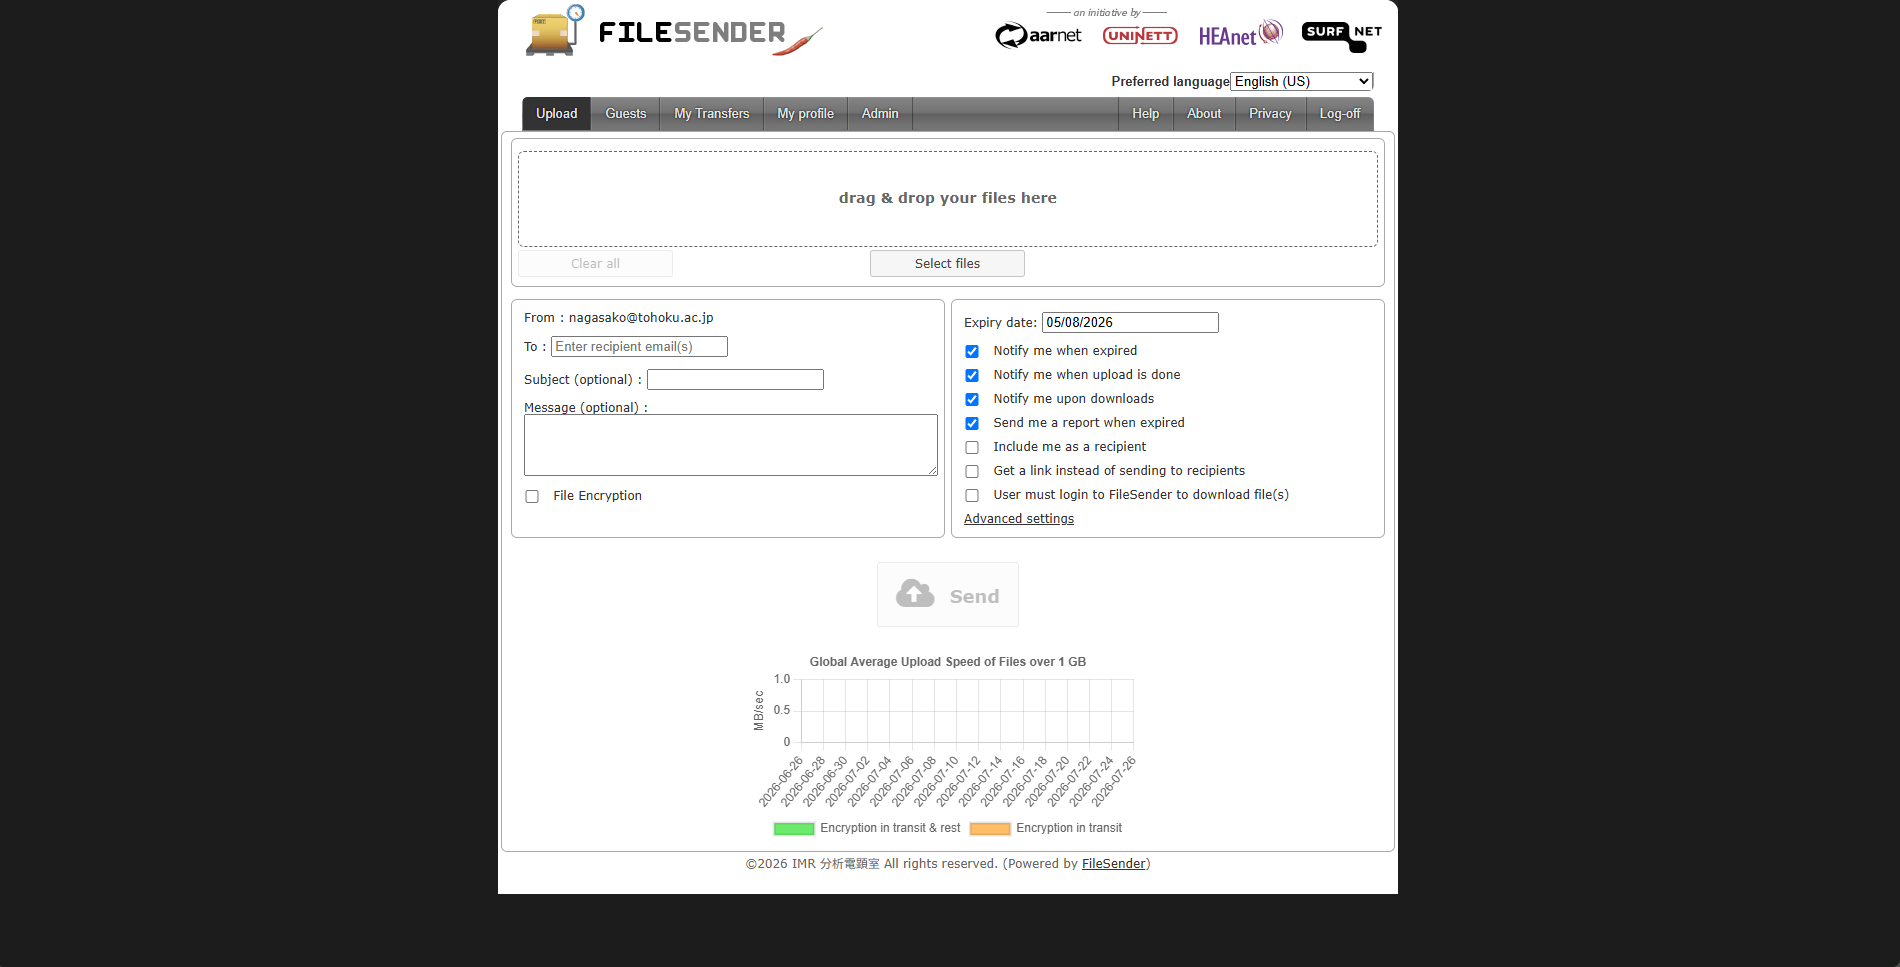
Service for transferring large files to external recipients outside the institute. Used when sending large files that cannot be attached to emails. Click “Login” at top right or center, and log in with your SSO account. Drag and drop files (or “Select files”), specify recipient email and expiration period, then send.
Monitor Camera
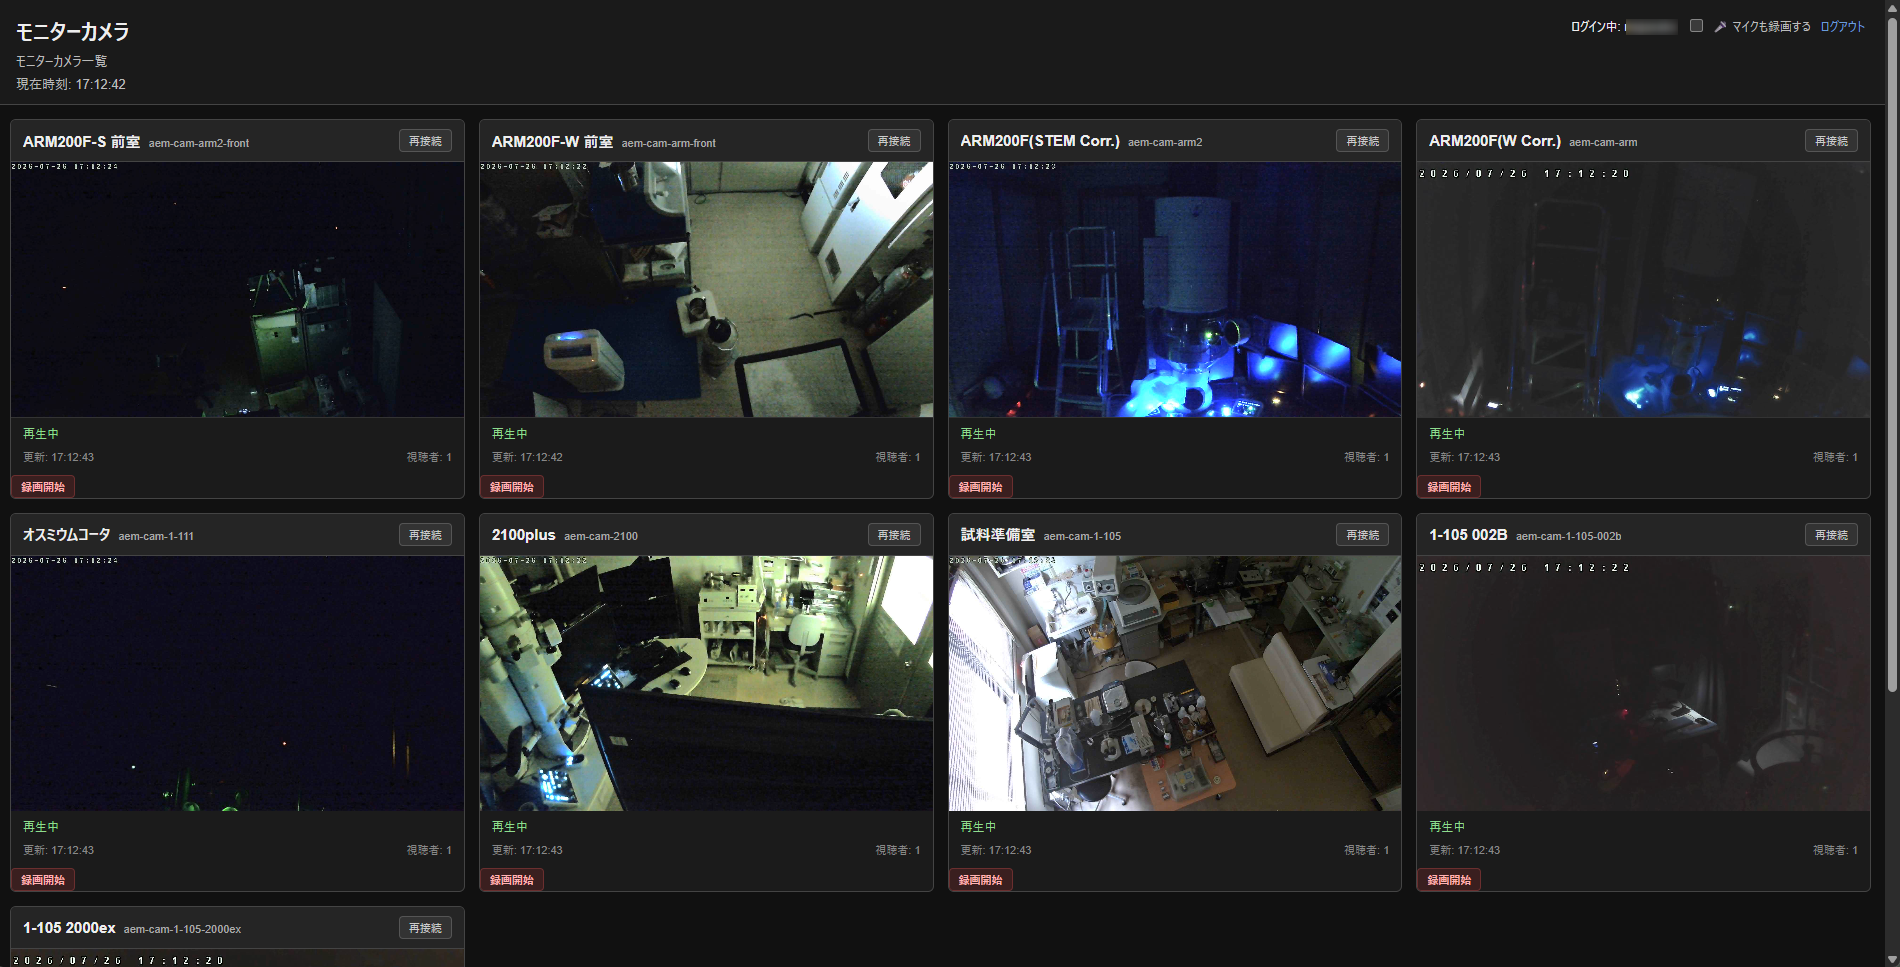
Service for viewing live video from monitor cameras installed inside laboratories via browser. Log in with your SSO account. Viewing requires group permissions. Without permissions, the respective camera cannot be viewed (admin users can view continuously). For permission assignment, see “Camera & Stream Permission Settings” below. Authorized cameras are displayed in a grid with real-time video updates.
Instrument Screen Stream
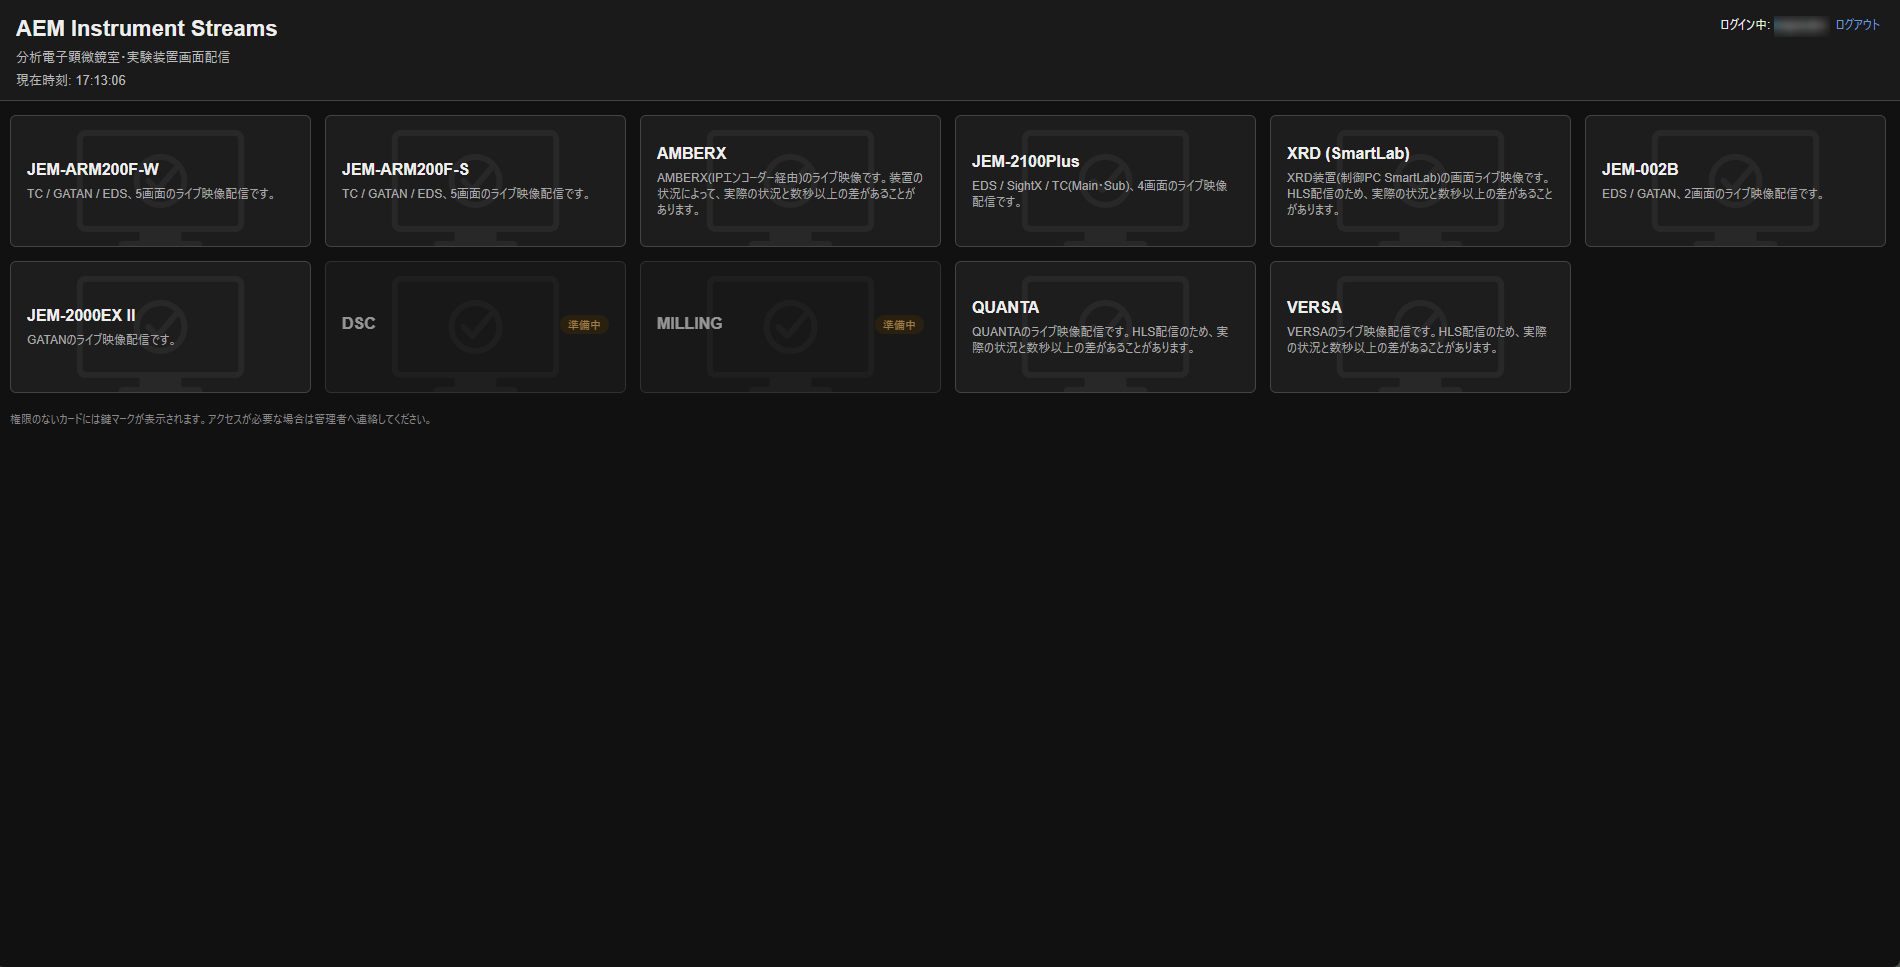
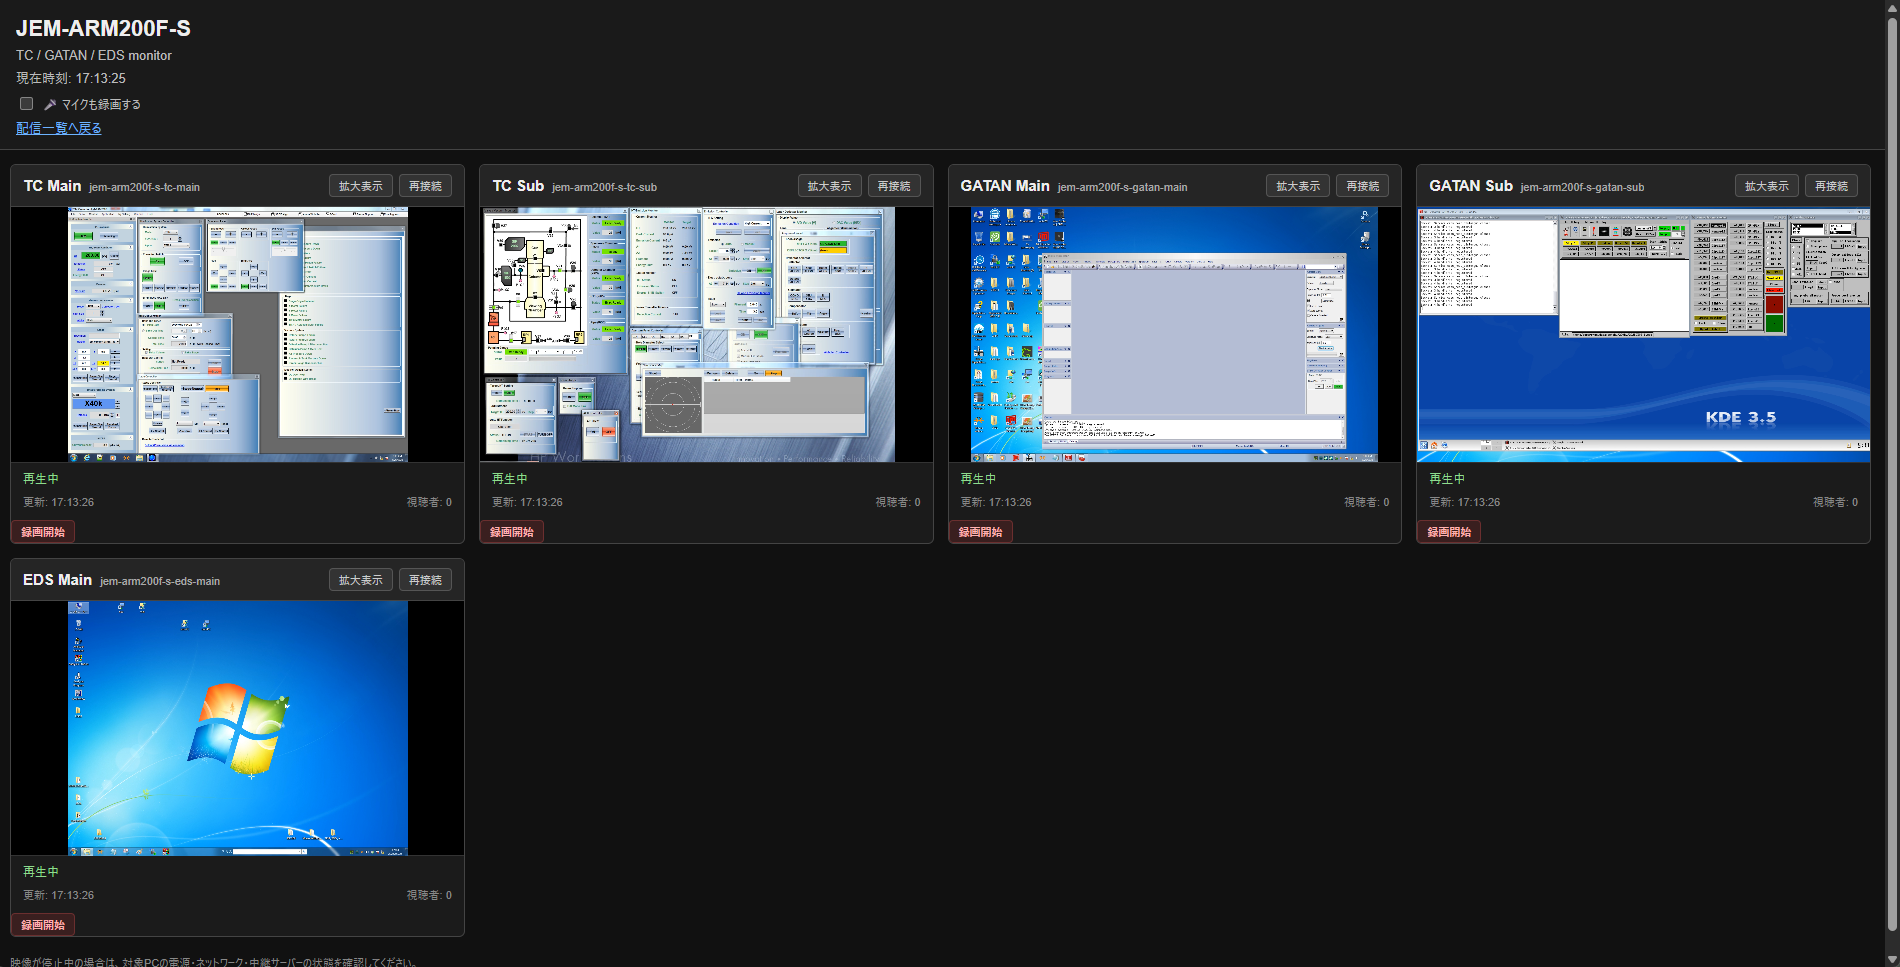
Service for viewing control PC screens of experimental equipment in real-time via browser. Useful when performing other tasks away from equipment during long measurements. Log in with your SSO account. Requires group permissions per instrument. Cards without permissions display a lock icon. Selecting an instrument card on the top page displays its screens (multiple screens for multi-monitor setups). Full-screen expansion is supported for each screen.
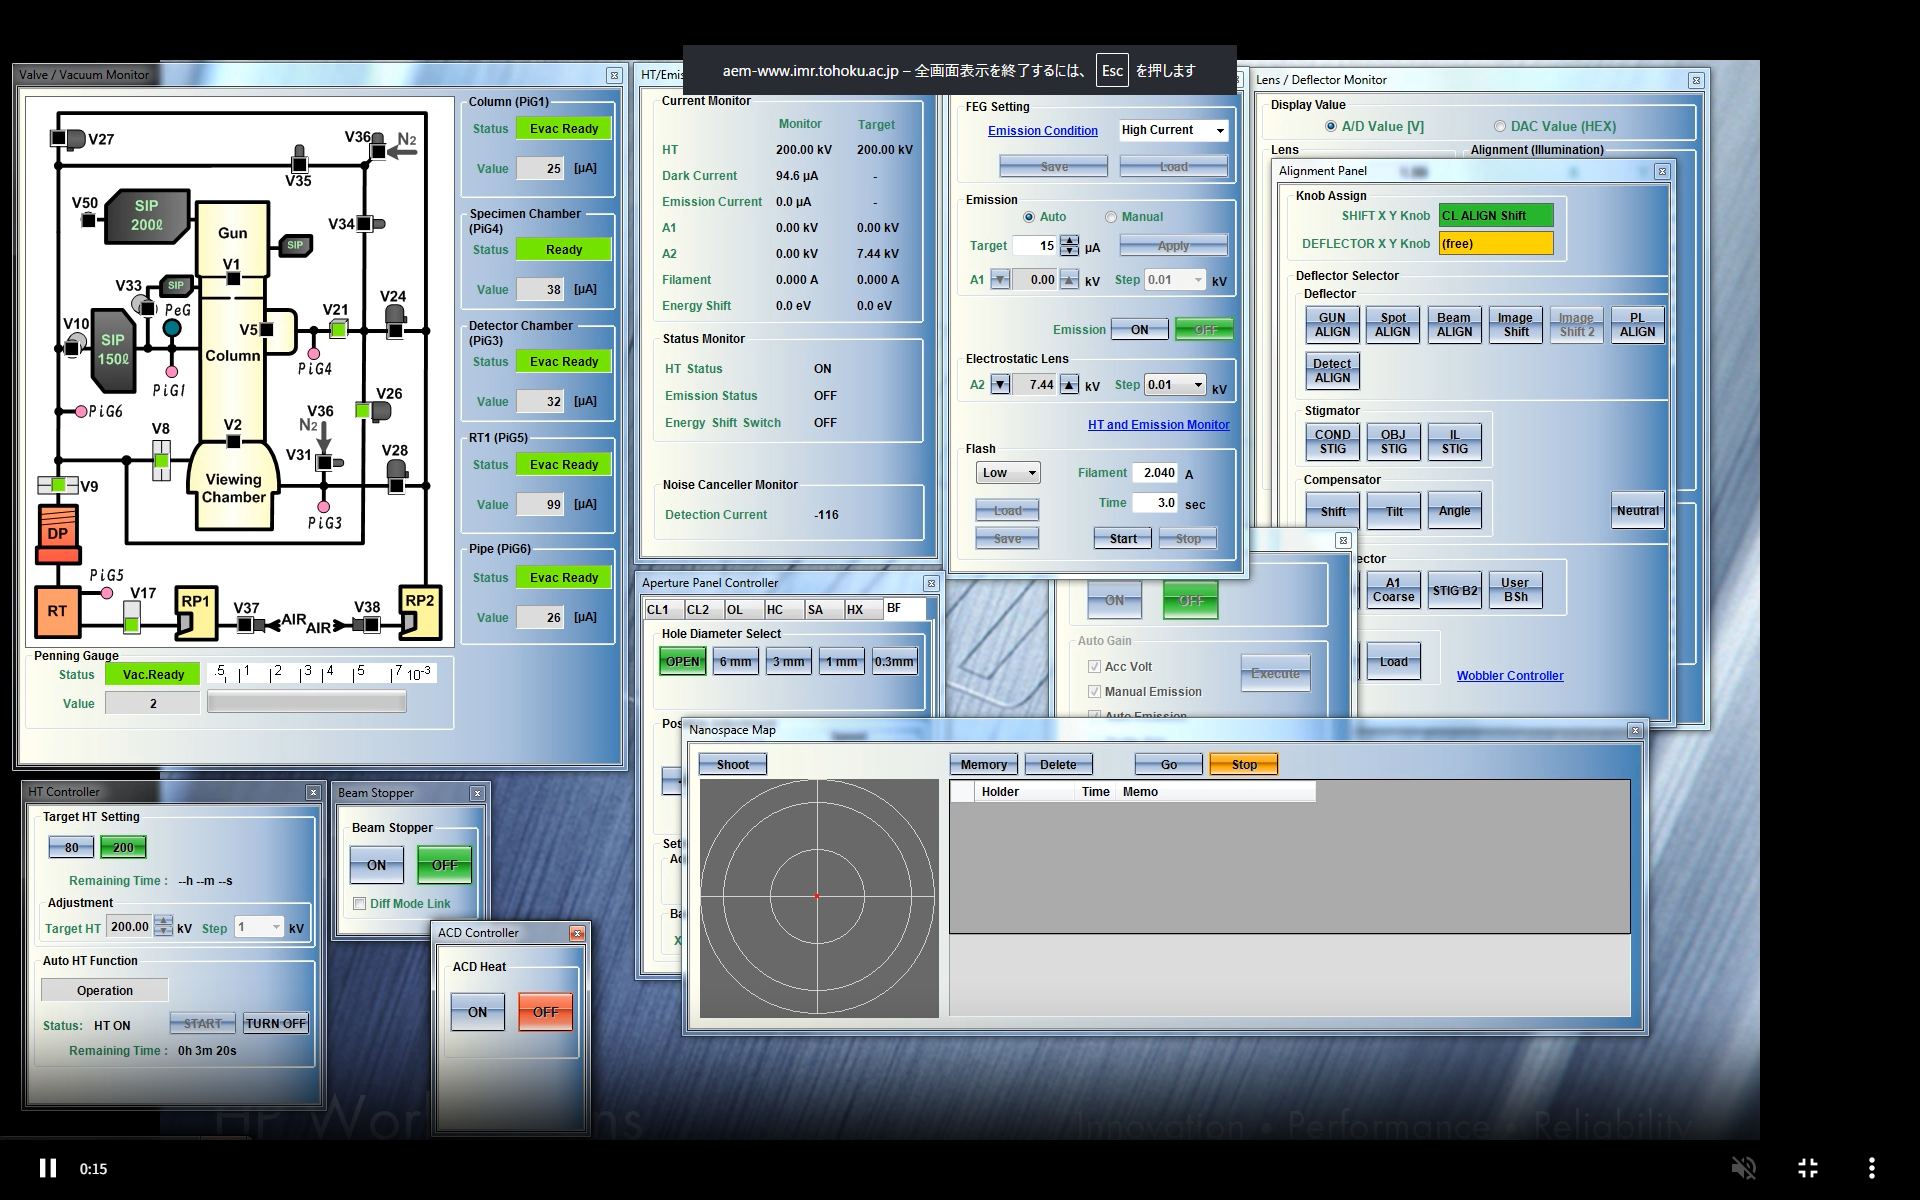
Camera & Stream Permission Settings (For Administrators)
Viewing permissions for monitor cameras and instrument streams are managed by group. Edit via the dedicated “Group Member Management” tool.
Prerequisite (Important): To edit groups using this tool, your account must belong to a specific administrator group. If no editable groups appear for your account, ask another administrator.
How to Use
- Select target group from upper tabs.
- Search target user by entering username or email address (5+ characters) in lower search bar.
- Set expiration date if necessary, and click “Add”.
- Remove unneeded members via “Delete” button in list (expired members are automatically excluded and can be re-enabled later).
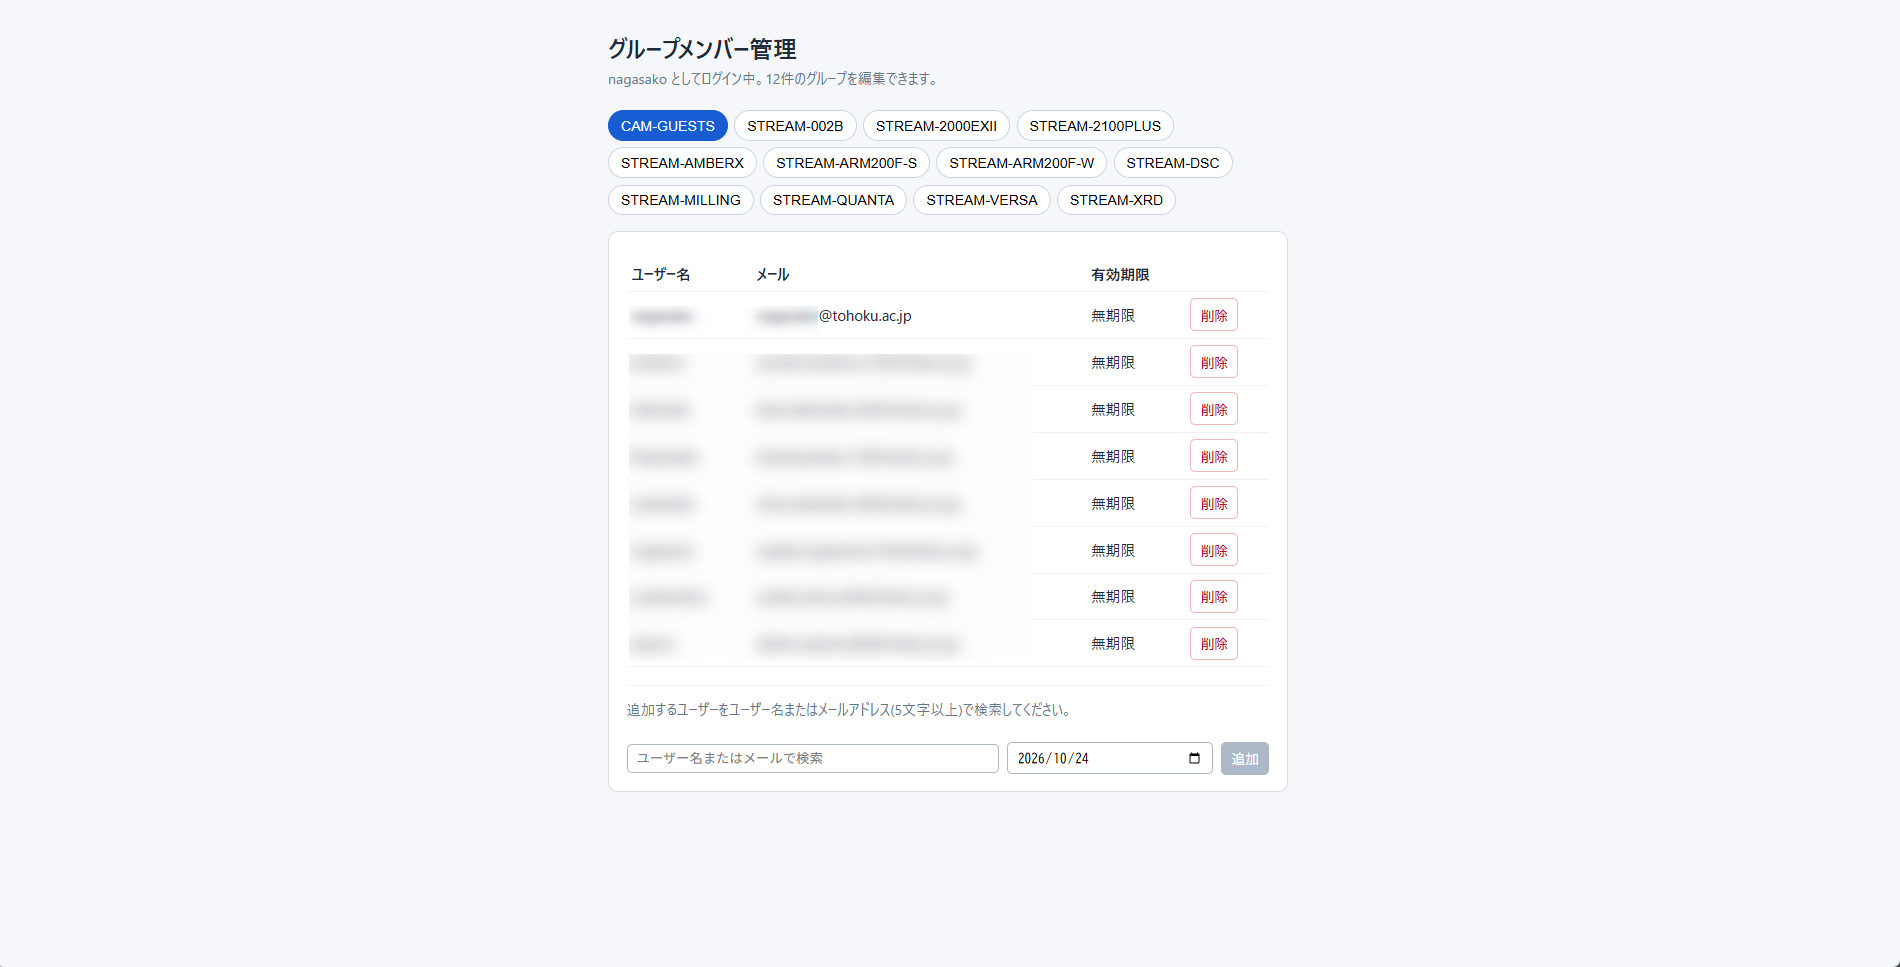
For Administrators: Registration & Operational Workflow
- Receipt of Usage Application (Currently manual; web form automation under consideration)
- Account Registration: Register user’s basic account info (username, initial parameters). Enables login & FTP upload to Instrument NAS and Public NAS.
- Permission (Viewing Group) Assignment: Add user to permission group if camera/stream viewing is authorized. Facility managers can add, set expiration, or revoke members using “Group Member Management”. Permission changes take effect immediately.
- Data Transfer Setup from Instrument NAS to Public NAS: Executed once home folders are created on both NAS units. Currently manual (automation in preparation).
Supplementary Information
- Centralized Account Management: User registration, deletion, and passwords are managed centrally in one place; account info is uniform across Instrument NAS, Public NAS, and SSO.
- Instant Permission (Group) Updates: Changes to camera/stream viewing permissions take effect almost instantly.
- Mandatory 2FA for All Users: Required for both new and existing users.
- Fixed Workflow: Email Verification → 2FA Setup: Prevents unauthorized users who know initial passwords from configuring 2FA first to hijack accounts.
- Choice of 2FA Method (Authenticator App / Passkey / Email): Users can choose and set up any one method to start using services.