*Note: This page was translated by AI from the Japanese original. In case of any discrepancy, the Japanese version shall prevail.*
This guide explains how to set up and use your Common Login Account (Single Sign-On / SSO) to securely access various services provided by the Division of Analytical Electron Microscopy, IMR, and the Analytical Research Core for Advanced Materials (ARCAM).
[Important Notice]
This Common Login Account is unrelated to our Equipment Reservation System (https://www.aem.imr.tohoku.ac.jp/reserve/).
For equipment reservations and user applications, please continue to use the Reservation System as usual.
1. Account Application
If you do not yet have a Common Login Account, please submit an application from the following page:
- Application Guide: About Common Login Account Application
*For Existing FTP/NAS Users:
Existing FTP/NAS user accounts are already registered in the system. However, to use them as Common Login accounts, you must activate your account by performing an initial password reset following the steps below.
2. Initial Setup: Password Reset and Two-Factor Authentication (2FA)
Upon your first login, please register your permanent password and set up Two-Factor Authentication (Email OTP) via the password reset feature.
Step 1: Access the Common Login Management Site
Navigate to the Common Login management portal (Keycloak):
- Account Management URL: https://aem-www.imr.tohoku.ac.jp/keycloak/realms/aem/account/
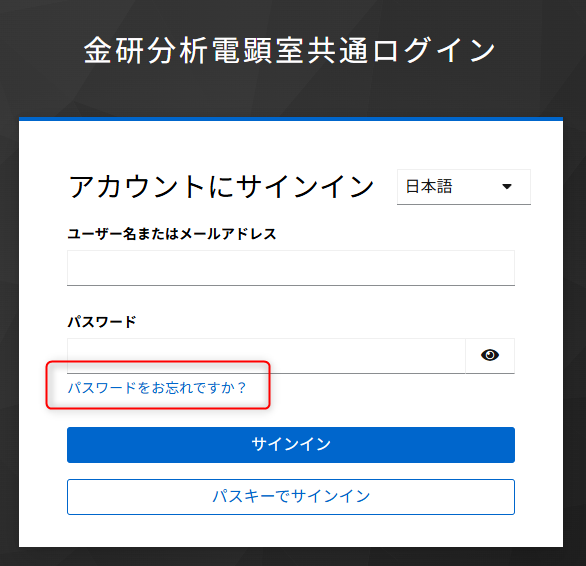
Step 2: Initiate Password Reset
On the login screen, click “Forgot Password?”.
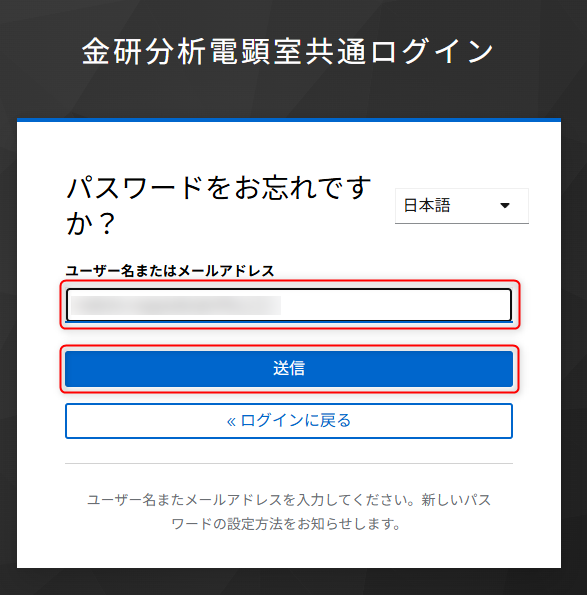
Step 3: Enter Your Registered Email Address
Enter your registered Email address (or username) and click “Submit”.
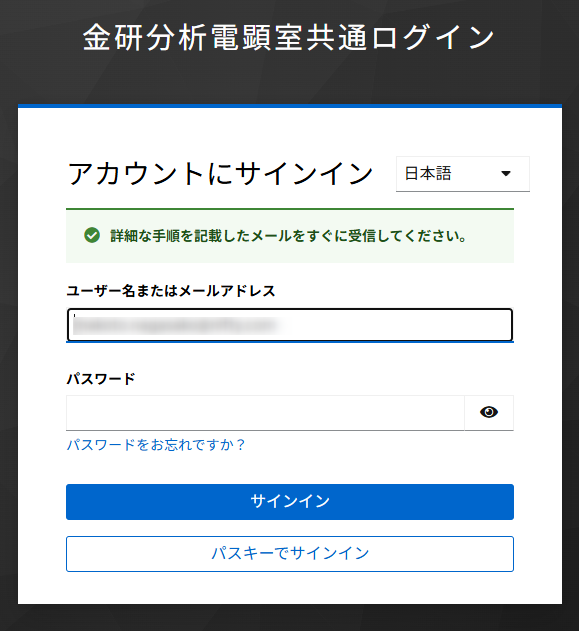
A confirmation message will appear, and a password reset link will be sent to your email.
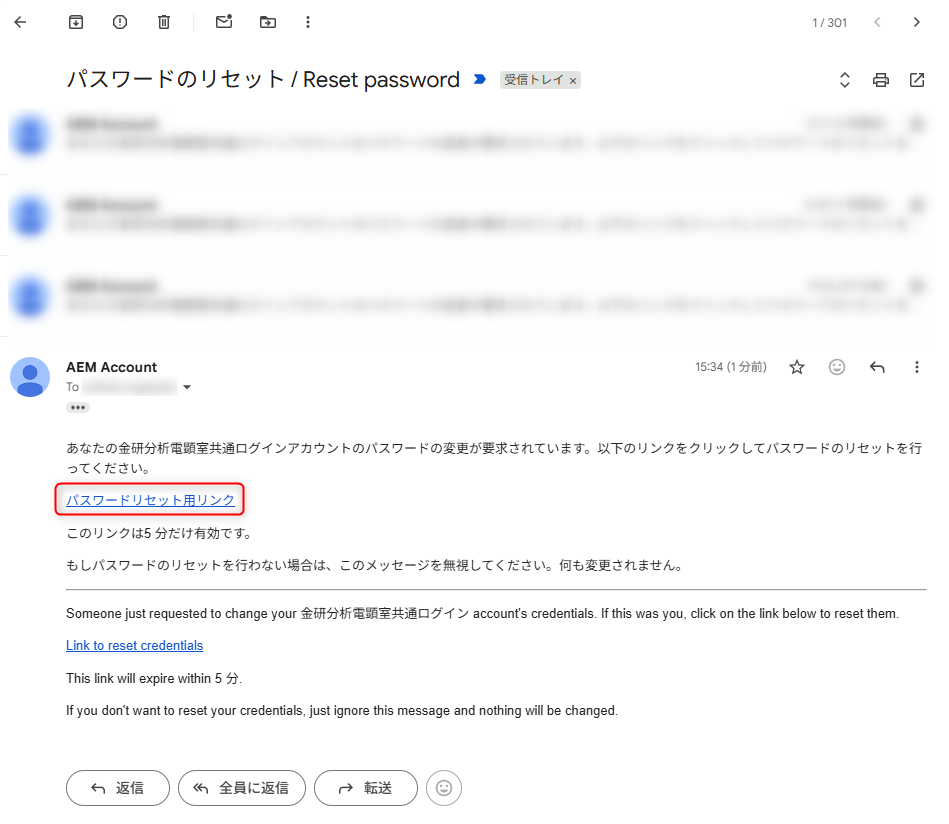
Step 4: Check Your Email
Open the email you received and click the Password Reset Link provided in the message.
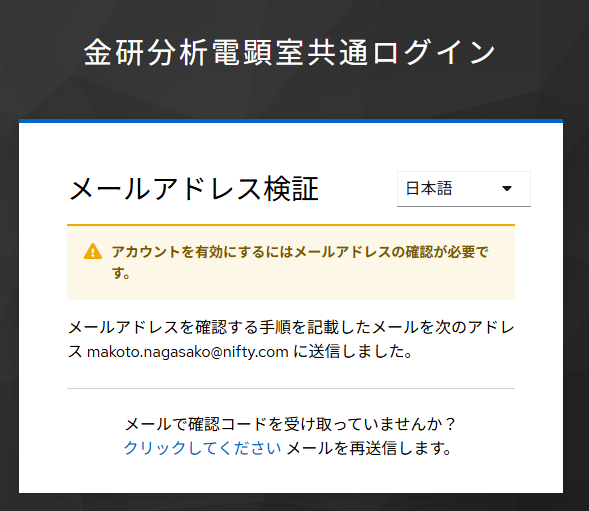
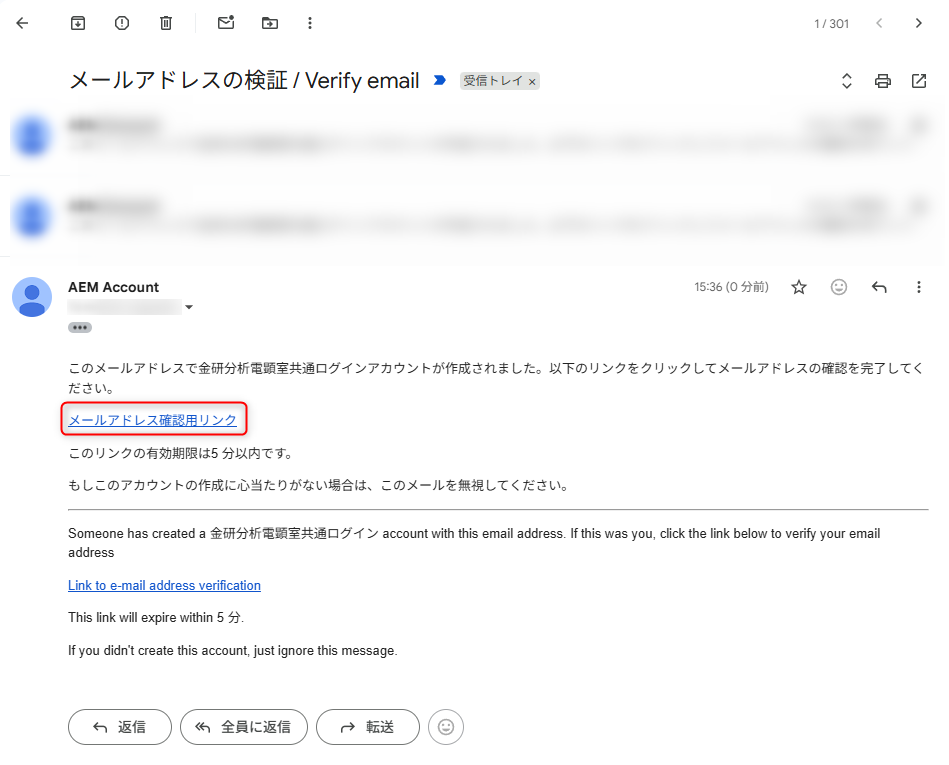
Step 5: Verify Email Address (if prompted)
If a screen asking for email verification appears, click the verification link in the confirmation email (this may be skipped if pre-verified by administrators).
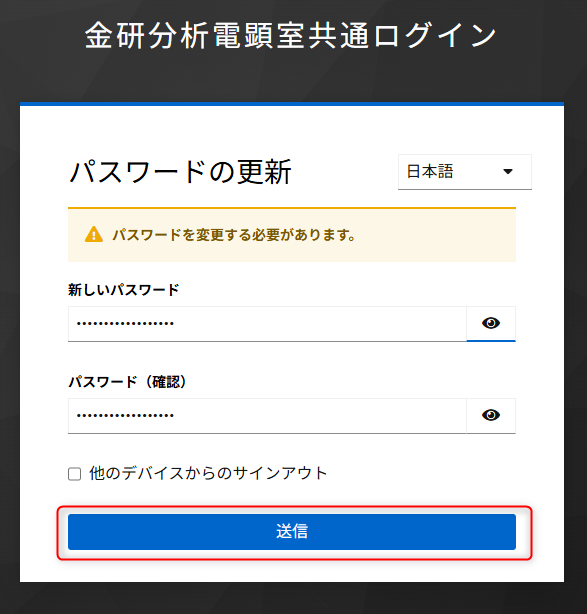
Step 6: Set Your New Password
Enter your new password and click “Update” (or Submit).
Step 7: Configure Two-Factor Authentication (2FA)
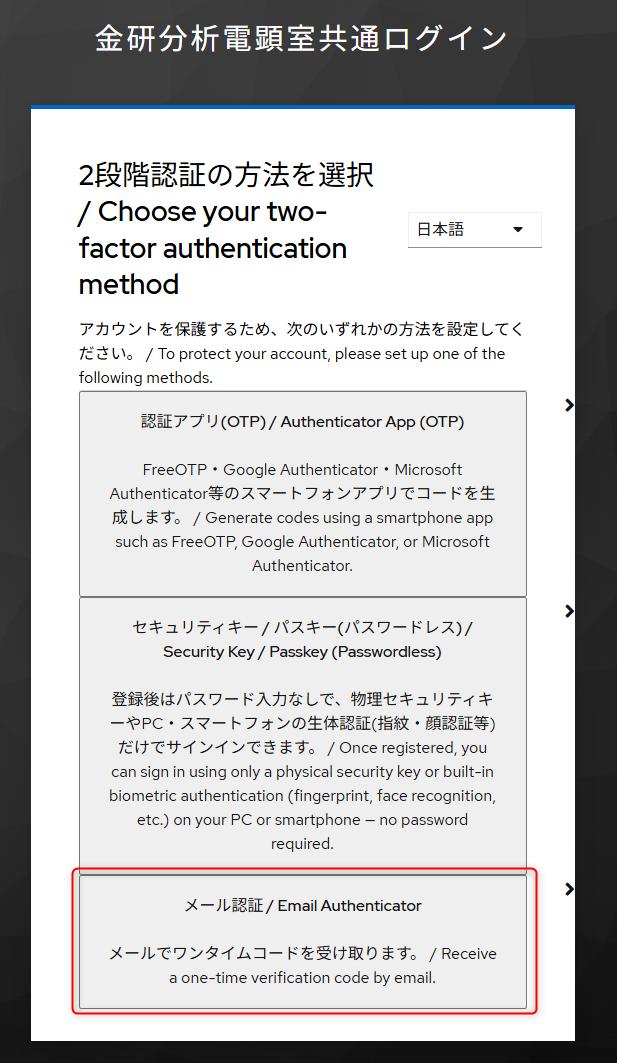
The 2FA method selection screen will appear. For security reasons, 2FA setup cannot be skipped.
Here, select standard “Email Authentication” and click “Enable Email Authentication”.
*Note: In addition to email authentication, you can also register Authenticator Apps (OTP) or Passkeys. Detailed setup guides for OTP and Passkeys will be introduced on a separate page.
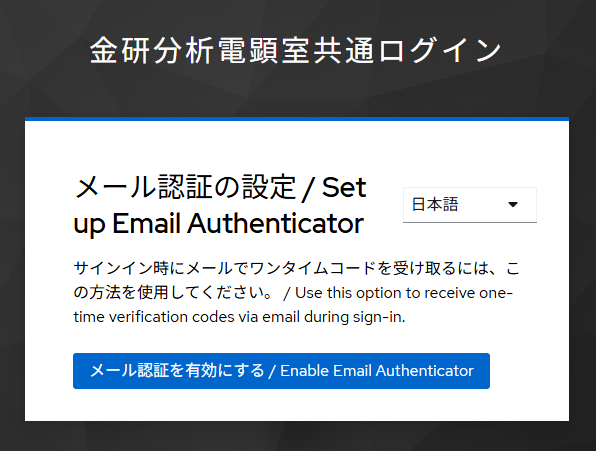
A notification will appear indicating that a verification email has been dispatched.
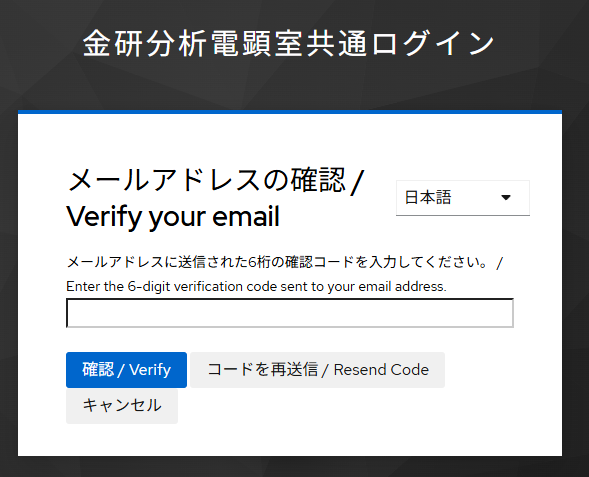
Step 8: Enter One-Time Access Code
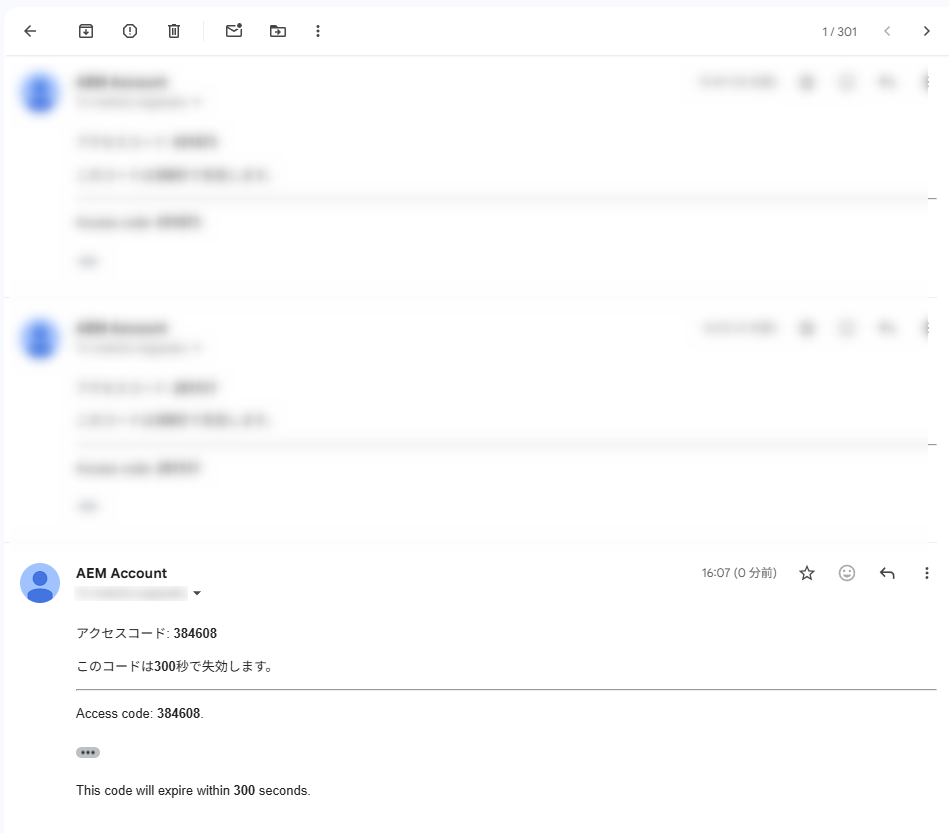
Check your email inbox for the Access Code (One-Time Passcode).
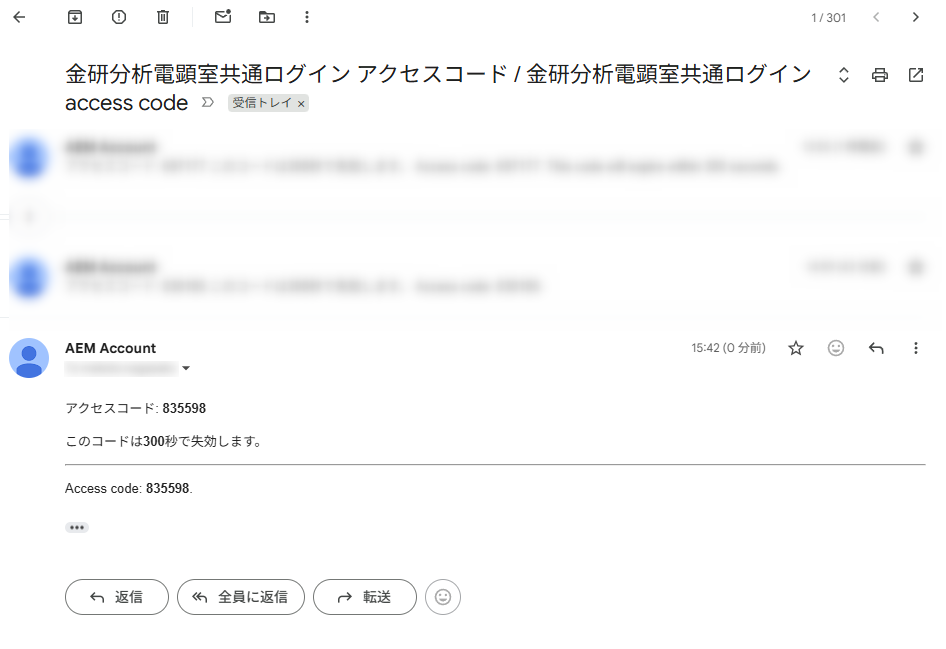
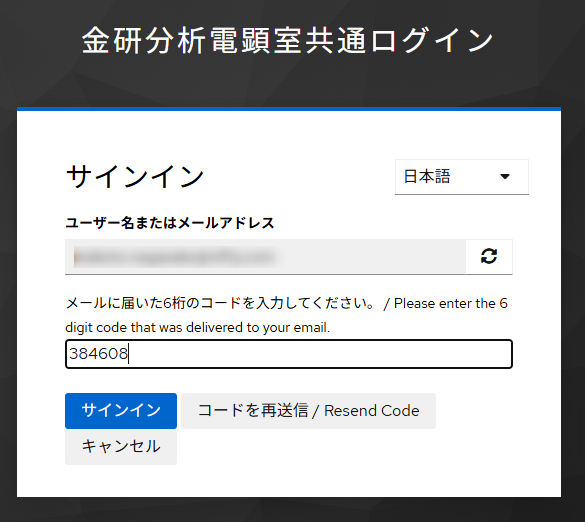
Return to the browser form, enter the code, and click “Confirm” (or Sign In).
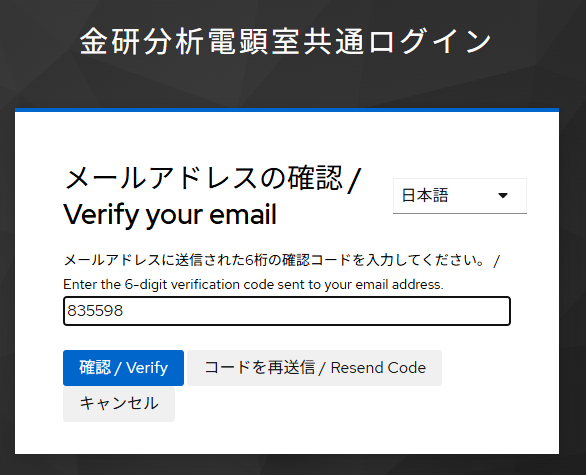
Step 9: Setup Completed
Once password update and 2FA configuration are complete, the confirmation screen will be displayed.
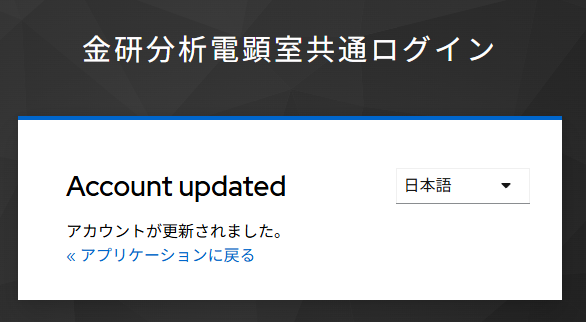
*If an error occurs due to timeout:
If the session expires before entering the code, you can simply log in using the newly updated password to complete the 2FA configuration.
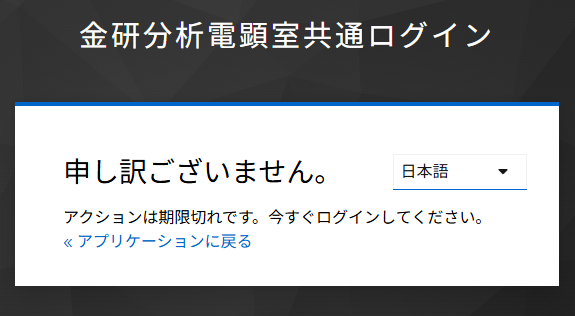
3. Account Management (Login, Settings, and Sign-out)
After completing the initial setup, you can manage your account information, update passwords, and configure security settings at any time via the Common Login portal.
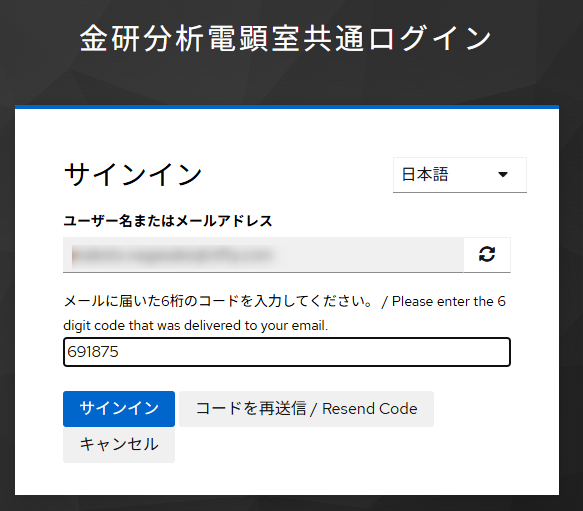
Login Procedure
Enter your username (or email) and password to sign in.
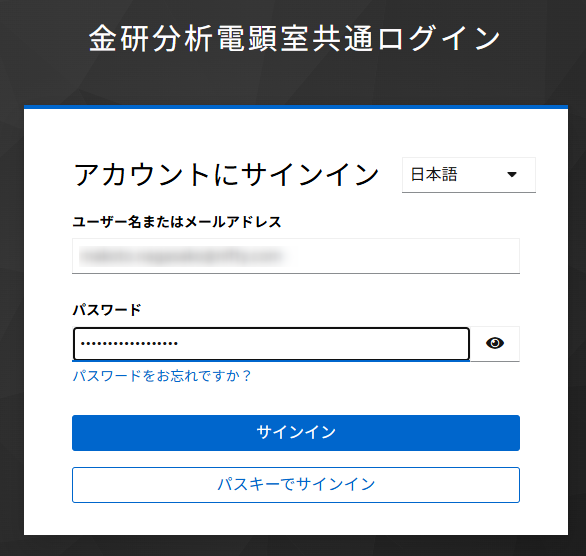
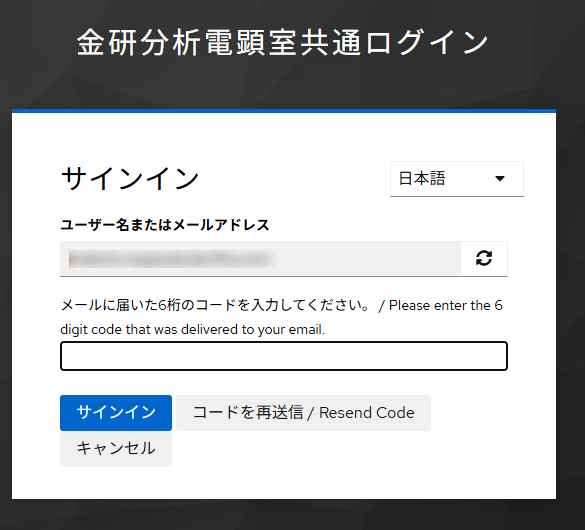
A 2FA one-time passcode will be sent to your email.
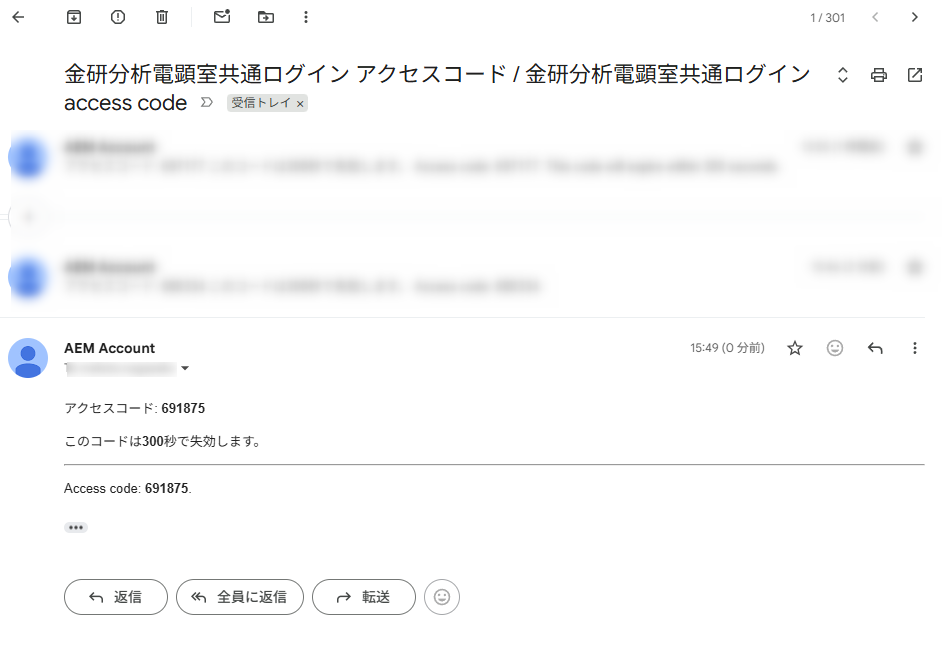
Enter the code and click “Sign In”.
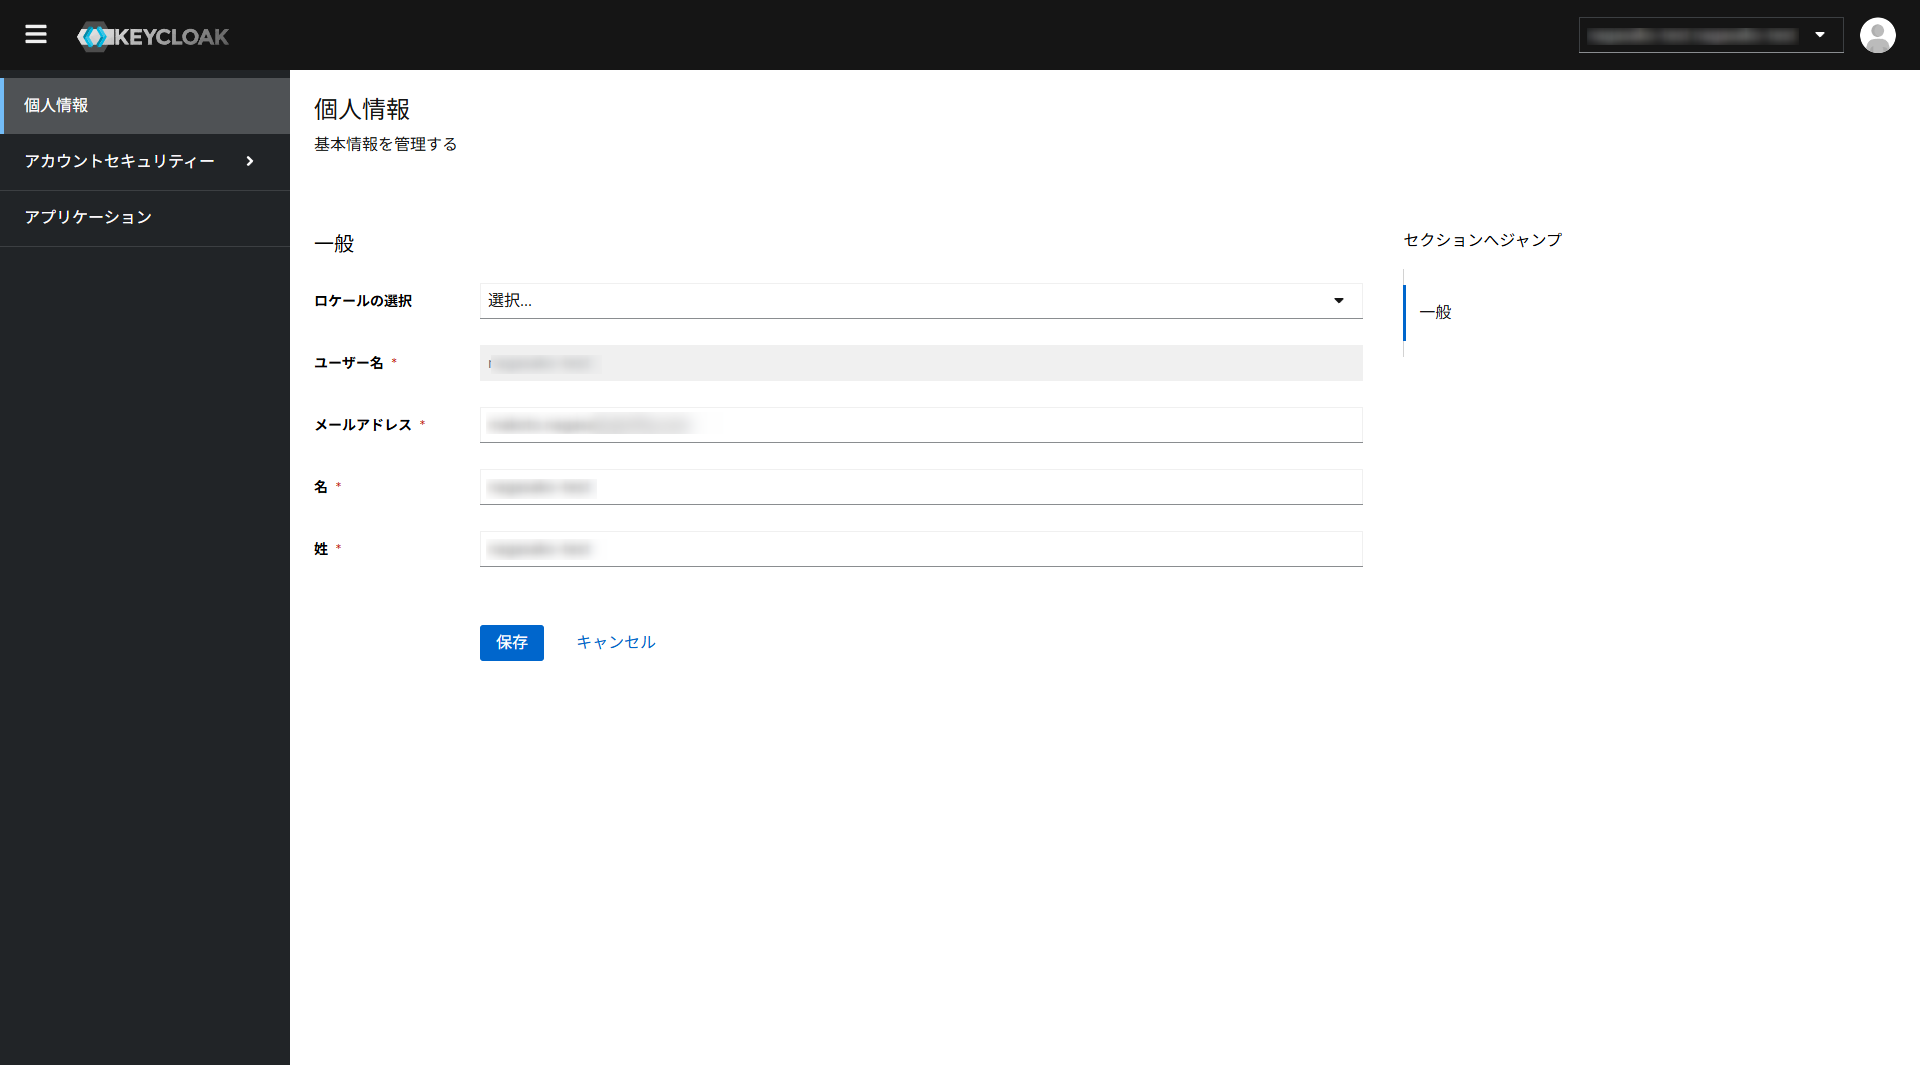
Personal Account Page & Sign-out
Upon signing in, your account dashboard is displayed where you can review your personal profile and security configurations.
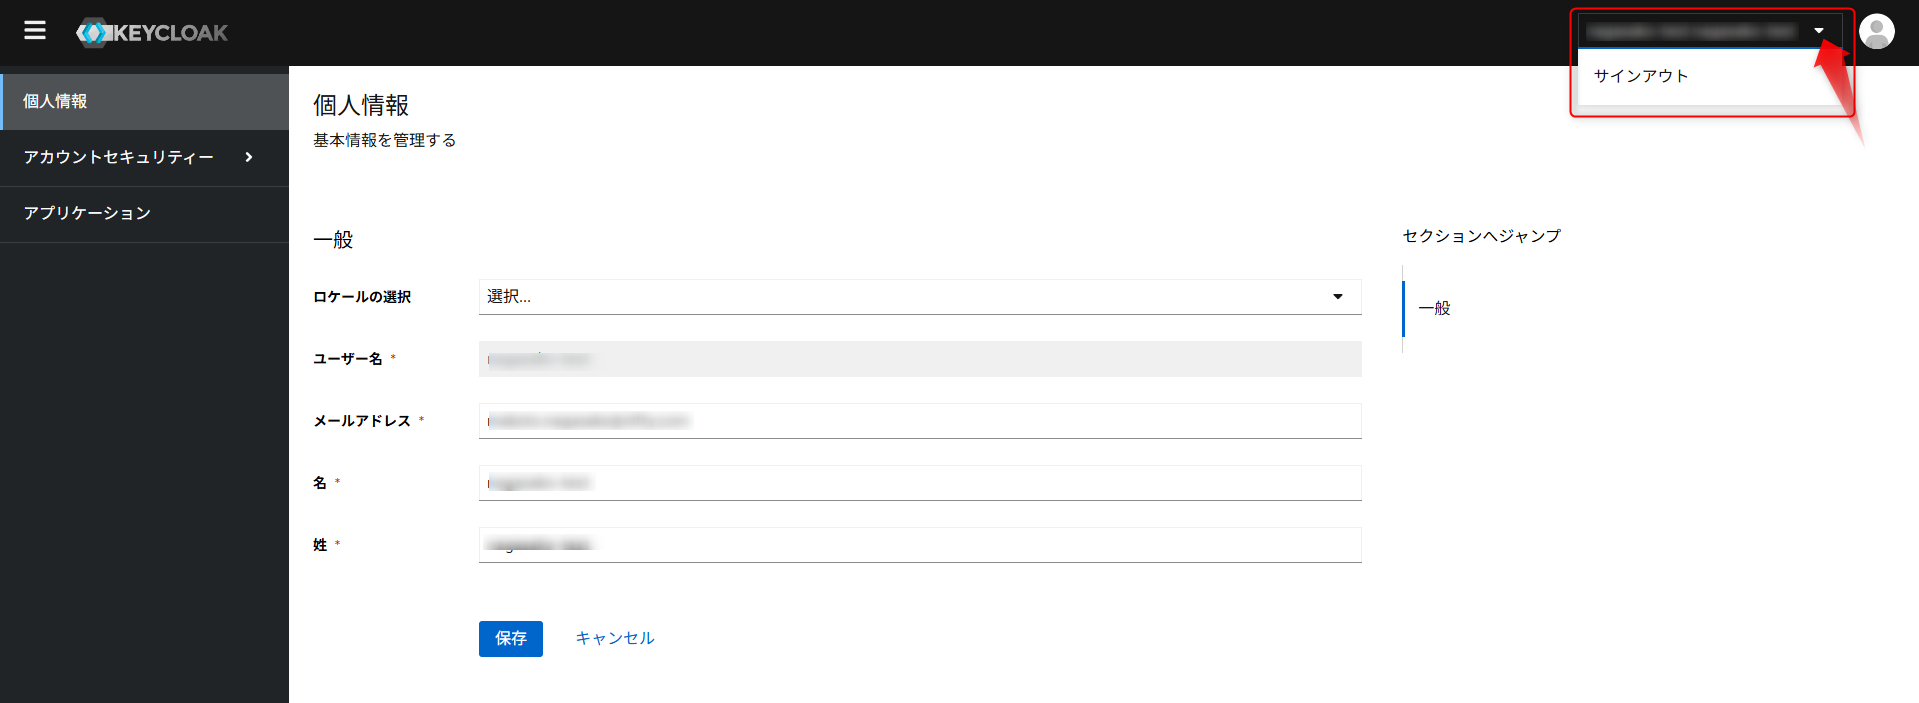
When finished, click “Sign Out” from the top-right user menu.
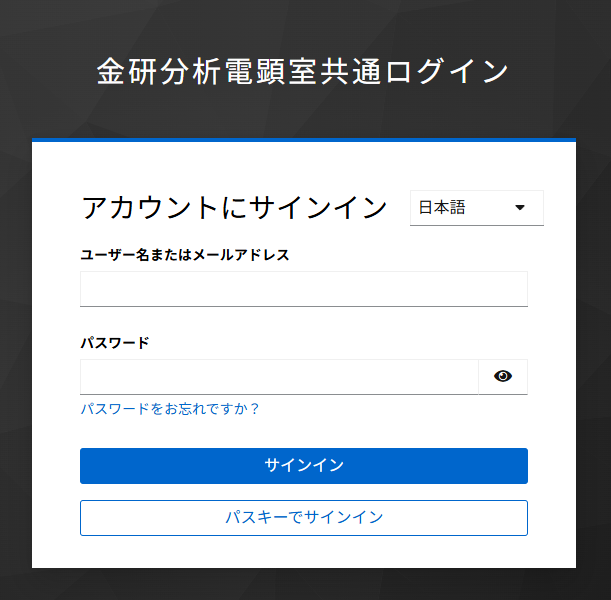
You will be redirected back to the login screen upon successful sign-out.
4. Service Usage Example: Accessing Connected Services
Here is an example of accessing connected services (such as remote instrument screen streaming) using your Common Login Account.
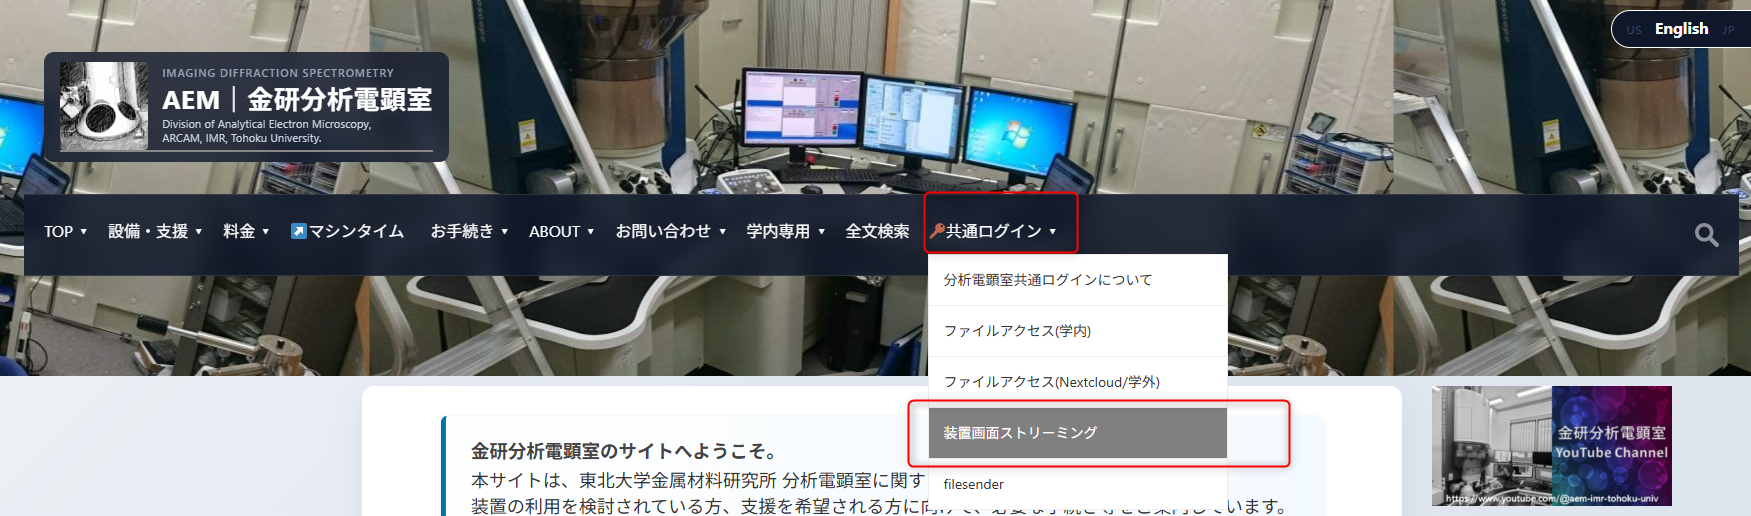
Step 1: Select Service from AEM Website
From the top navigation bar of the AEM website, open the “Common Login” menu and choose the desired service.
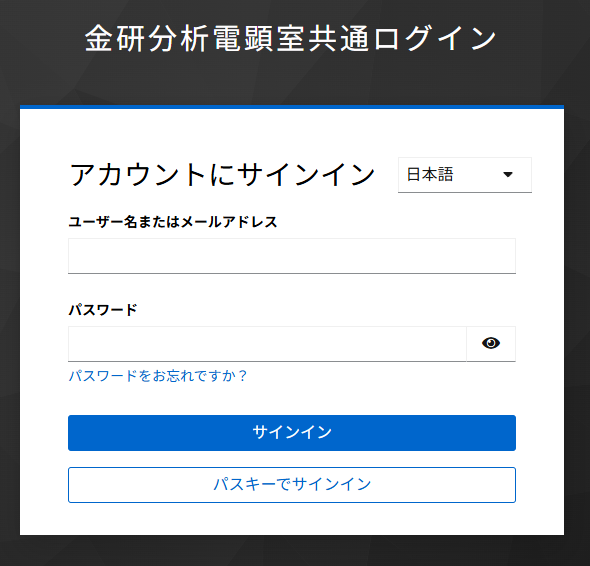
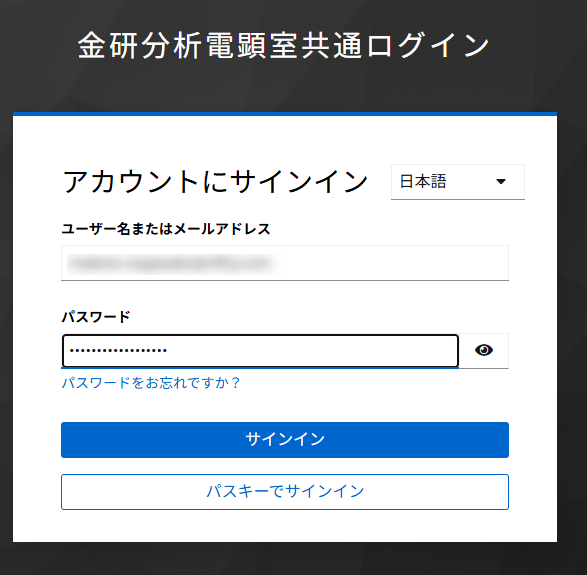
Step 2: Sign In via Common Authentication
Enter your username and password on the service login page.
Enter the 2FA access code received via email to proceed.
Step 3: View Service Dashboard
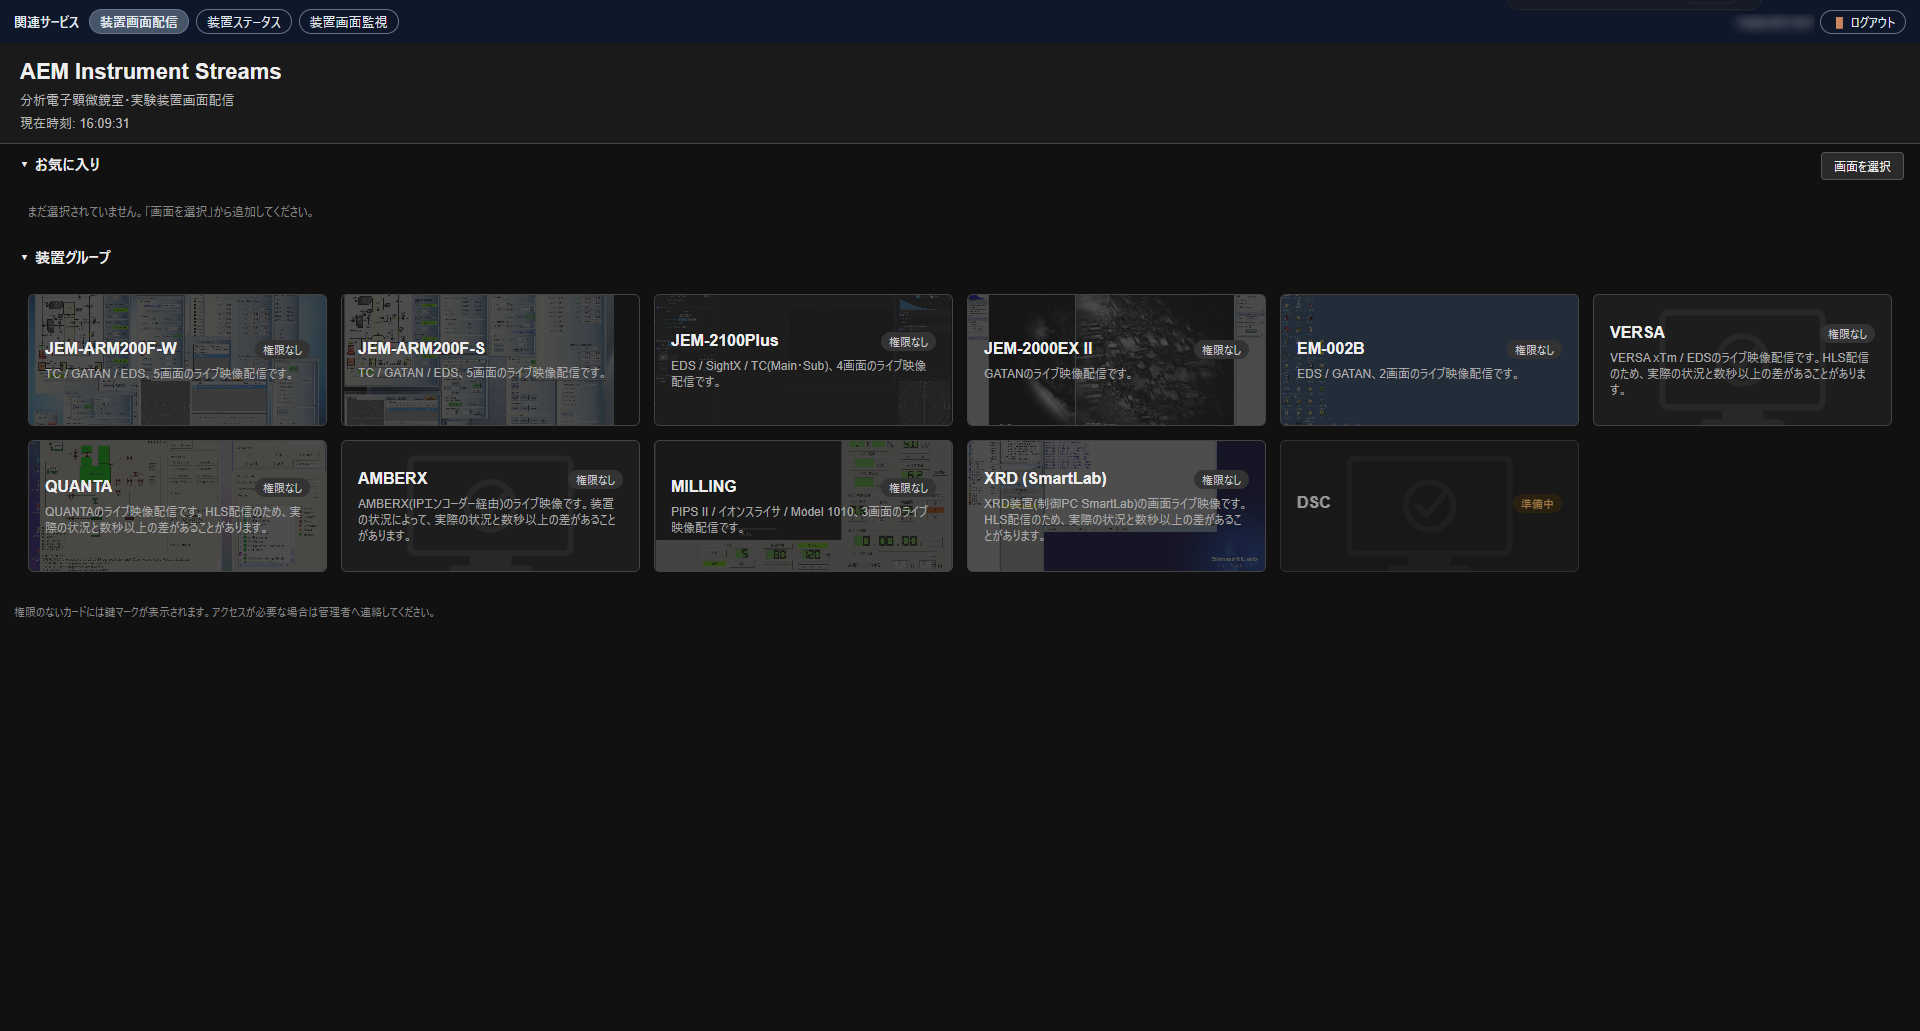
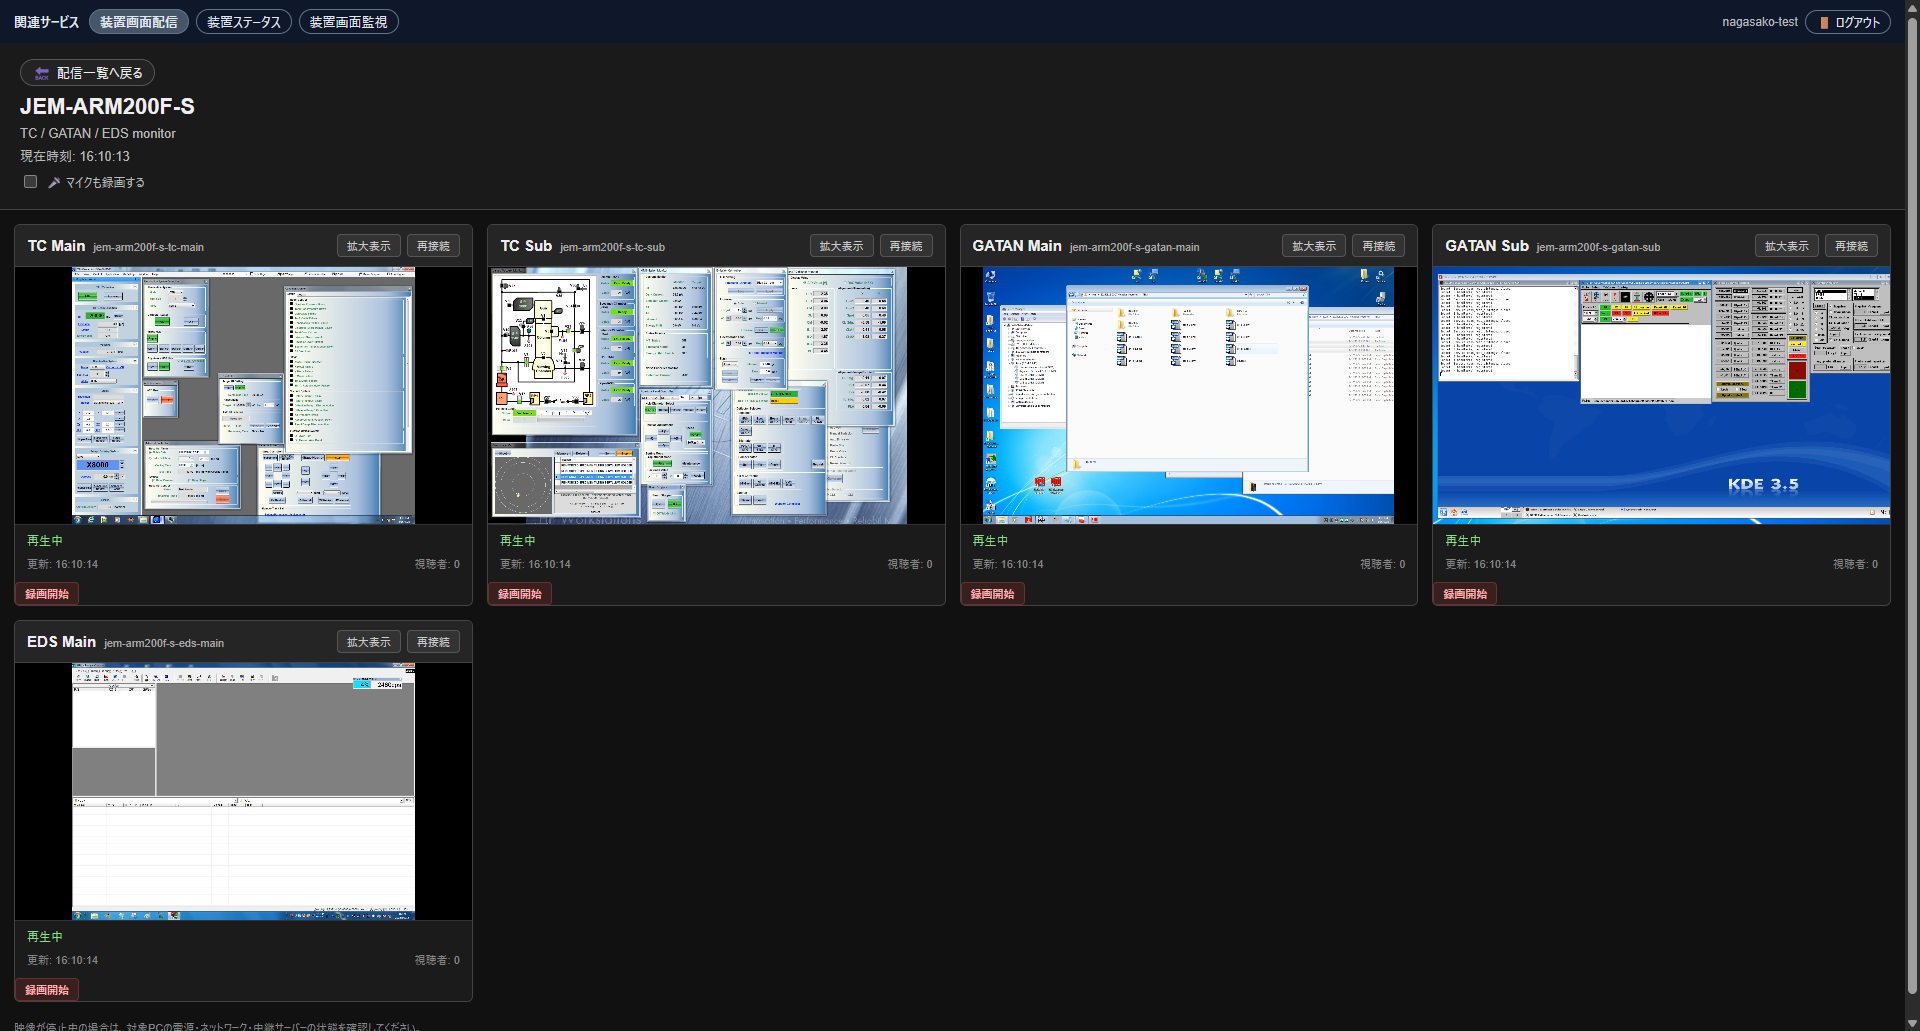
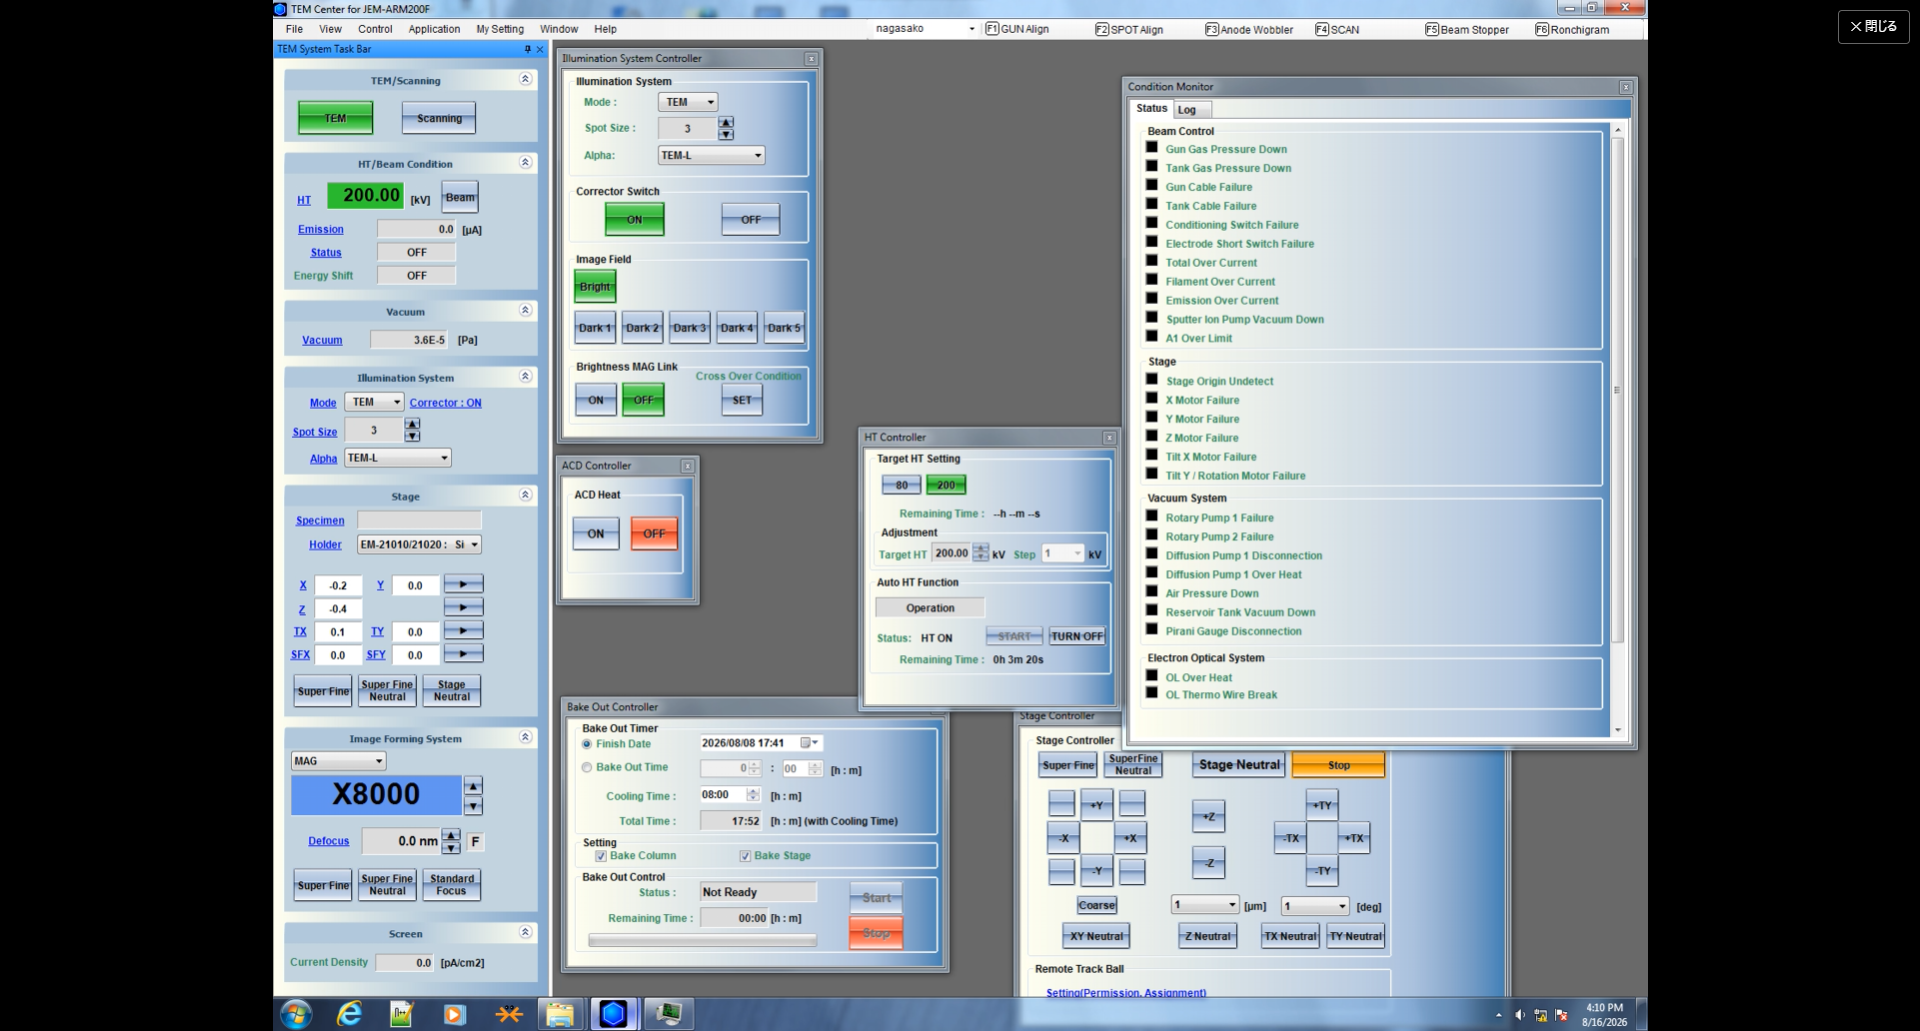
Once authenticated, the service interface will open (the example below shows the remote instrument screen streaming system):
- Instrument List: Displays all available equipment.
- Screen Channel List: Select the display channel for the target instrument (e.g., JEM-ARM200F STEM corrector model).
- Live Streaming View: Displays the instrument control interface (TEM Center, etc.) in real time.